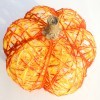
 I have wanted to cover a pumpkin in lace since I saw one using an old pair of lacy hose. I finally just stopped and did it.
Total Time: 2 Hours
Yield: 1
Supplies:
- 1 faux pumpkin ($1.00)
- 2.5 yd black lace ($.25)
- 40-45 white faux snow balls ($.30)
- 6 ft wire edged white and silver ribbon ($.25)
- 1 earring ($.10)
- a bit of glitter nail polish ($.02)
- hot glue gun and 1 stick of glue ($.10)
- 30 straight pins ($.10)
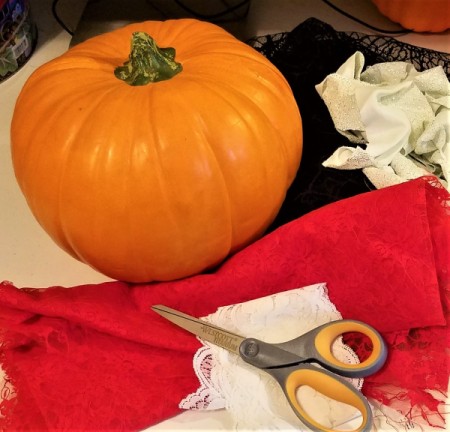
When you see the supplies photo, you will notice about the only thing I used was the pumpkin and the black lace. I found other things I liked better along the way.
Steps:
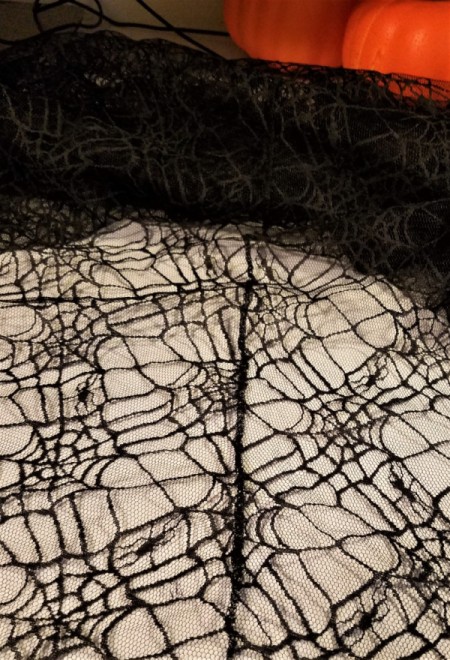
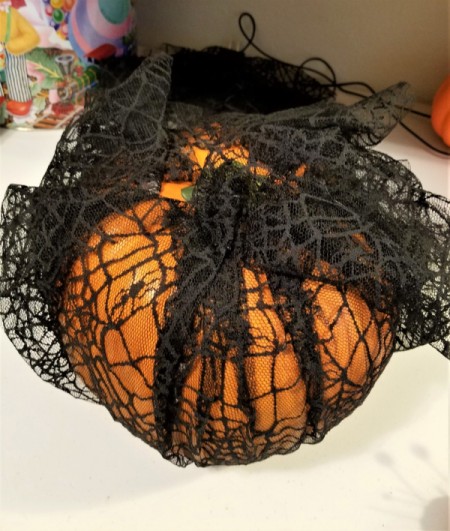
- I measured the basic circumference of the pumpkin and then cut a "sort of square" of the lace. This lace was from a cape so the pieces weren't square, but like a panel.
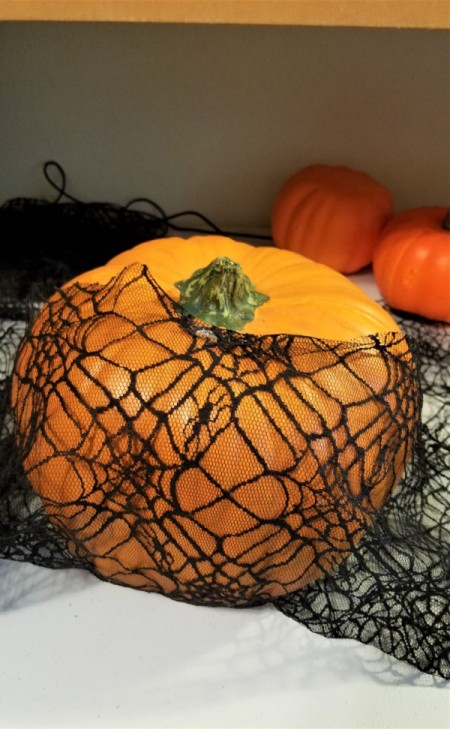
- After cutting the shape, I began to glue (then pin once I found the foam to be soft enough) the sides.
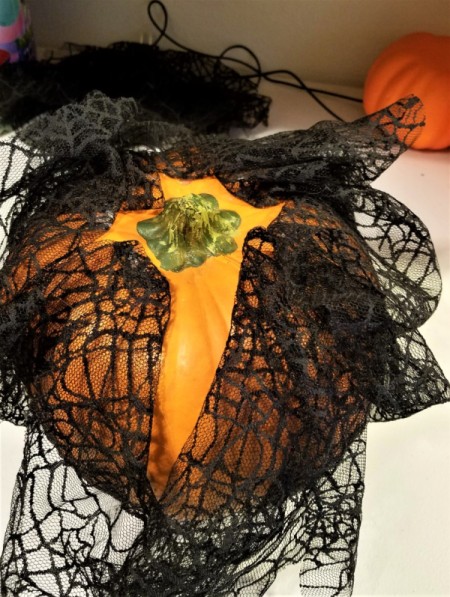
- Then I did the same thing the other direction. I was going to trim the "points", but found them to be kind of fun for the final effect, so I left them.
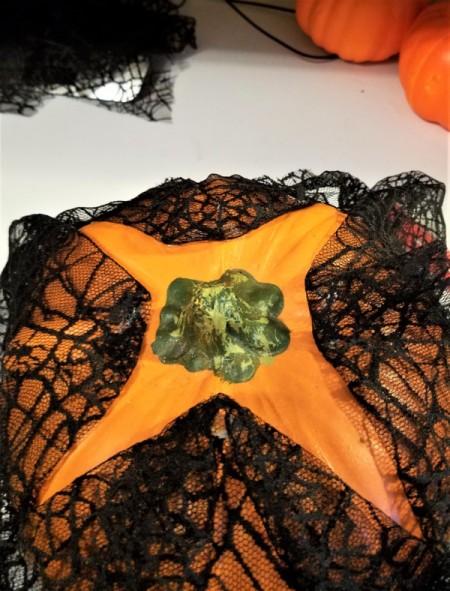
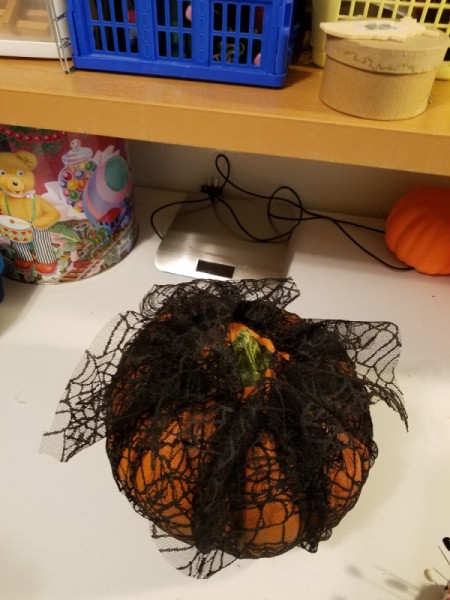
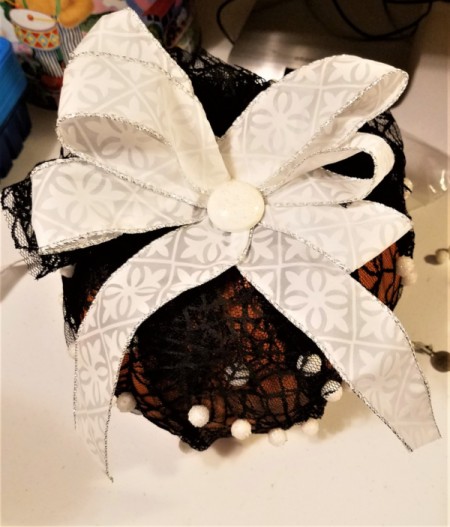
- I than gathered the excess fabric and began to fold and fold again, making sure it was all secured to the pumpkin. The corner that remained I left for a "ruffle".
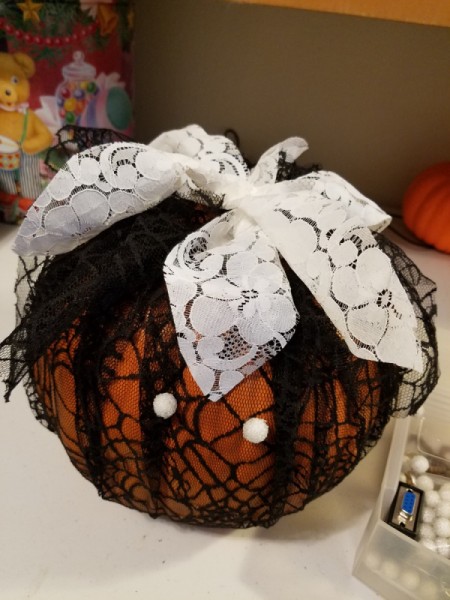
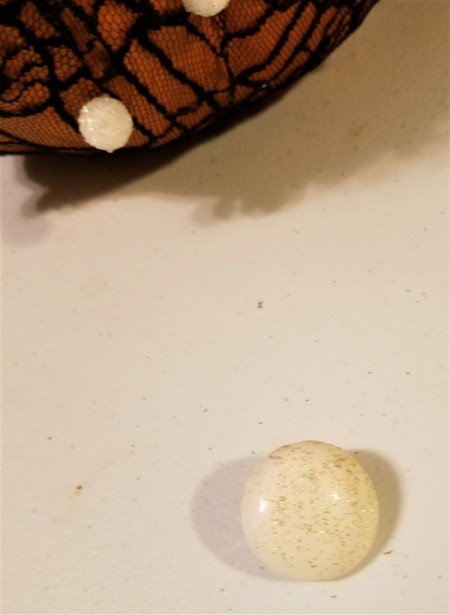
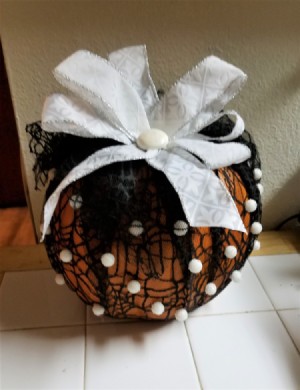
- I had three types of lace in bows on the top, but didn't like the way they looked. I found these faux snowballs that came off a Christmas decoration from a couple years back. I began to glue them on at random. As you can see, the first idea for the top was lace. I took it off as soon as I saw the little orbs were white and shiny.
- I finally found some pretty white ribbon with silver edging. That was all it took. I made a 6 loop bow and then added two tails.The final step was to find something to put in the center. I wanted something simple I could embellish. I used this earring. I put some glitter nail polish on it and when dry, pried off the back and hot glued it to the center. N-JOY!!
Add your voice! Click below to comment. ThriftyFun is powered by your wisdom!

attosa
Diamond Post Medal for All Time! 1,246 Posts October 28, 20180 found this helpful
Nice Sandi Totally my kinda pumpkin!
Anonymous
October 29, 20180 found this helpful
Thanks. I am going to make some more but might wait to post them. I either need another me or 28 hours days!!

October 29, 20180 found this helpful
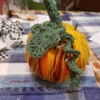
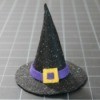
Thanks. Then you will like the quick and easy ones I posted today!!
Add your voice! Click below to comment. ThriftyFun is powered by your wisdom!