attosa
Diamond Post Medal for All Time! 1,246 Posts 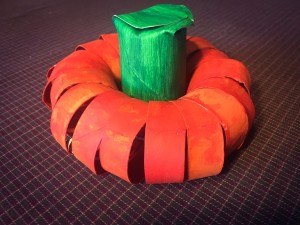 Halloween is on its way! Here is a cute pumpkin craft that will cost next to nothing to make. It uses just a few household items including the cardboard tubes from inside toilet paper rolls. This is a great fall craft for all ages. Enjoy!
Total Time: 1 hour
Yield: 1 pumpkin
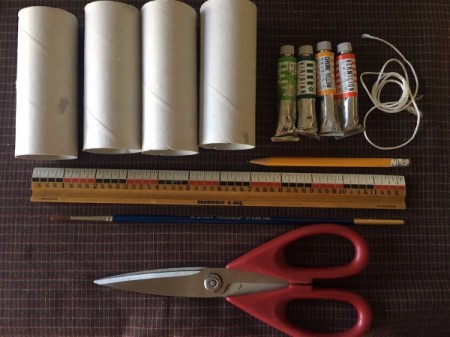
Supplies:
- 4 toilet paper roll cardboard tubes
- ruler
- pencil
- scissors
- orange and green paints
- paint brush
- string
- glue
Steps:
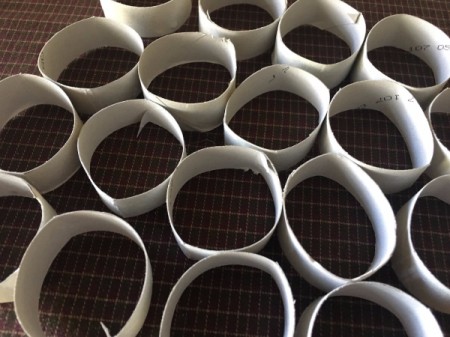
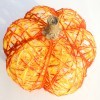
- Mark 3 of the cardboard tubes with your pencil, spaced at 3/4 inch segments.
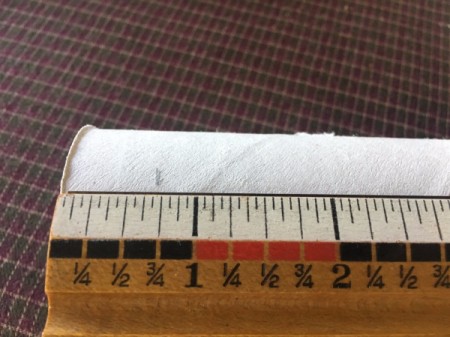
- Press down each tube gently and cut at the 3/4 inch markings so you have 18 rings.

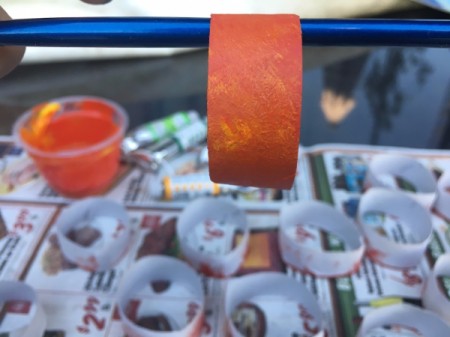
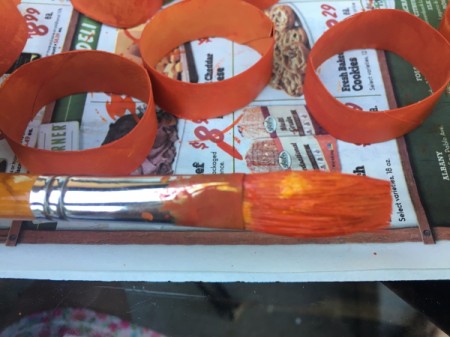
- Paint the outsides of the rings orange.
- To give the pumpkin a nice textured look, use two shades of orange on one paintbrush and dab the cardboard tube.
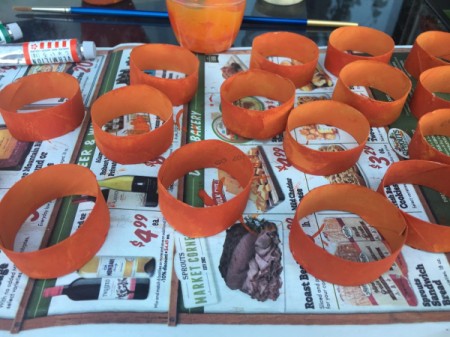
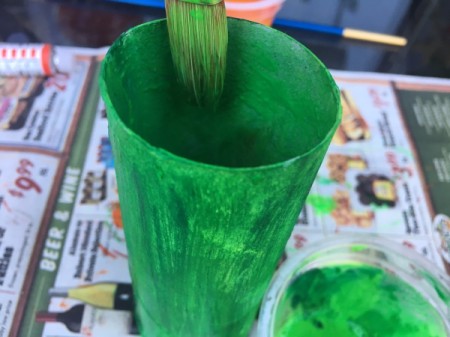
- Paint the insides of the tubes orange and let dry.
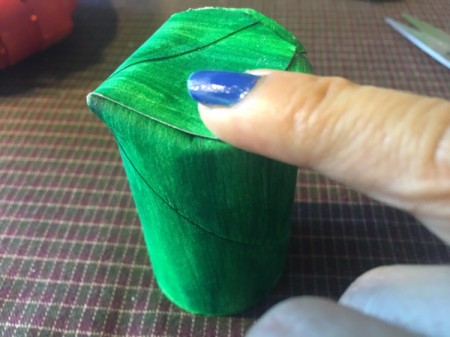
- Paint the outside of the 4th tube green, using the same two tone texture technique if desired.
- Paint the inside of the tube and let dry.
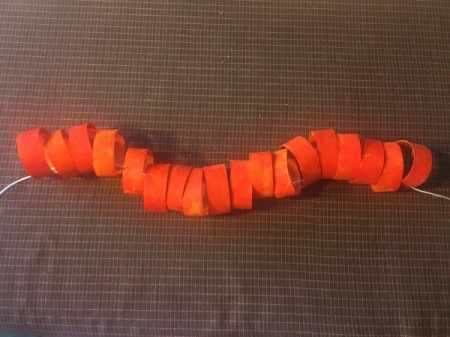
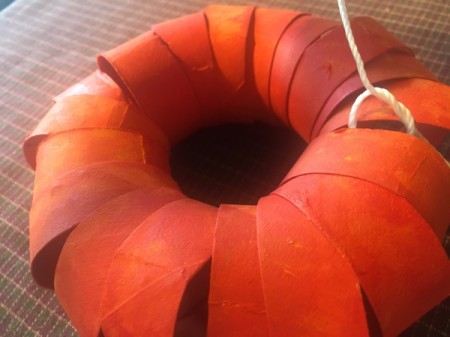
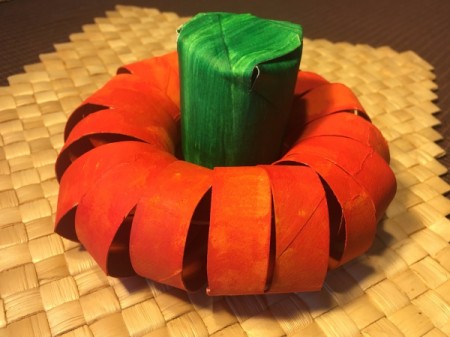
- When the orange rings are completely dry, place them on the piece of string.
- Pull rings around in a tight circle, tie the string in a knot, and cut the excess string.
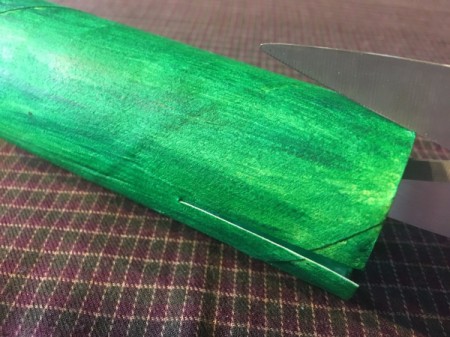
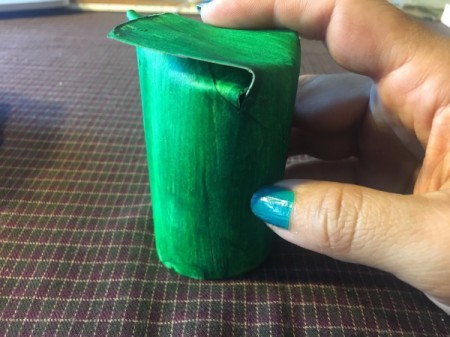
- When the green tube is dry, take one side and make a few cuts 1/3 of the way down the tube on equal sides.
- Press the cuttings down into the center of the tube, then cut the edges so they're nicely rounded off.
- Add a couple dots of glue under the top flap and press down to secure.
- Drop the stem into the middle of the pumpkin ring.
Add your voice! Click below to comment. ThriftyFun is powered by your wisdom!
Anonymous
October 1, 20170 found this helpful
I love this and will be doing this today. Simple easy and cheap. To for sharing.
attosa
Diamond Post Medal for All Time! 1,246 Posts October 2, 20170 found this helpful
Thank you! I love seeing the cardboard tubes go to use. :)
likekinds
Gold Post Medal for All Time! 523 Posts October 22, 20170 found this helpful
Cute!
attosa
Diamond Post Medal for All Time! 1,246 Posts October 24, 20170 found this helpful
Thanks, Doug! :)
Add your voice! Click below to comment. ThriftyFun is powered by your wisdom!