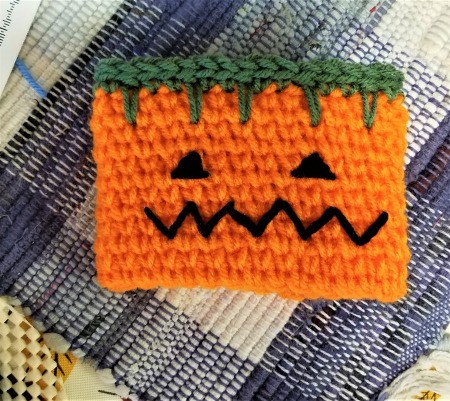
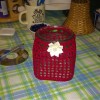
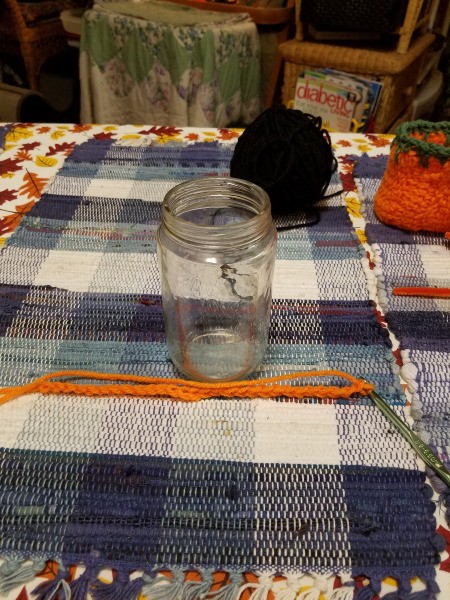
With just a little orange yarn, a little less black and green yarn, and a jar you can make this cute little candy holder!
PSST: It can also hold an LED faux candle, faux leaves, and other things you might like.
Total Time: 1 Hour
Yield: 1
Source: Have seen clear glass/plastic cylinders with covers like these.
Supplies:
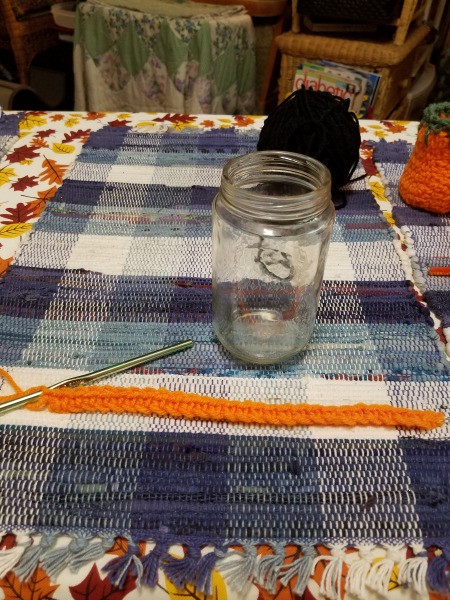
- 1 small pickle size jar
- 36-38 yd orange yarn
- 4 yd green yarn
- 3 yd black yarn
- size J hook ($0.00)
- darning needle ($0.00)
- scissors ($0.00)
- 3 cups candy corn ($1.00)
Steps:
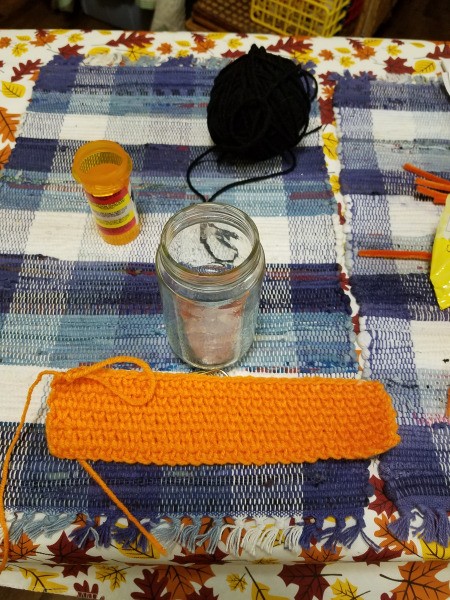
- With your hook, chain about 28. This is a 12 oz jar. If yours is smaller or larger, basically chain enough so your yarn doesn't meet in the back, but is within a half inch. You want the yarn to be taut, and if it's too long, it will be too loose.
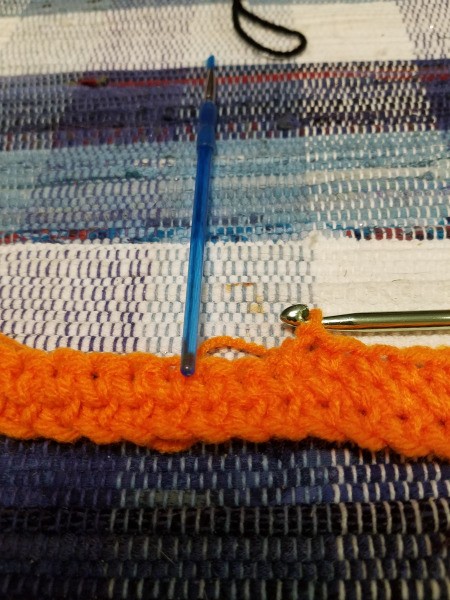
- If you want to do the "knit stitch" you simply make the base row of single crochets. Chain 1 and turn. Then make your single crochet placing your hook in the center of the stitch below you. If you look at the photos, you will see where to place the hook. You can see pretty fast how it looks like it's knitting!
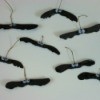
- Keep repeating this row, till you have the height you want. For this one, it was 3". Cut off and work in the tail. With your black, thread the darning needle and make the base of the eyes, even making the base of both at one, then going back and forth smaller and smaller to make the eyes the shape of a pyramid. Then make the up and down chevrons for the mouth.

- For the green, join in the back and make a single in 2 stitches, then a half double long one in the second row down. Repeat till you get back to the beginning. Join with a slip stitch. Make a slip stitch binding stitch around the top and cut your tail, weaving it in.
- Variations on a theme: If you make this, you can join the first chain and crochet in a circle. I didn't because it's easier to work the face when it's flat. But that is up to you. A simple seam up the back isn't going to be noticeable on the back. Fill with candy of your choice and you are done. N-JOY!!
Add your voice! Click below to comment. ThriftyFun is powered by your wisdom!