R Barbara
Bronze Post Medal for All Time! 190 Posts 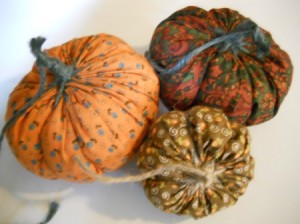 I like working with yo yos so I looked for some ideas for making pumpkins. I found this project on the internet. They were fun to make and look great.
Source: happierthanapiginmud.blogspot.com
Supplies:
- various fall motif fabrics
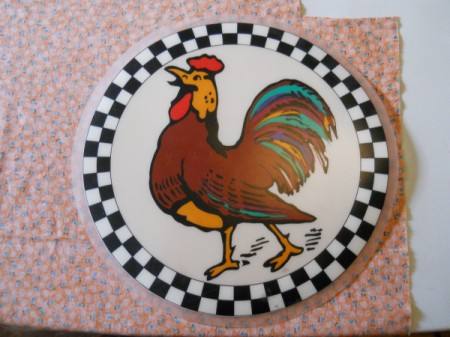
- plastic placemat or paper template
- pencil/pen
- polyester fill
- jute, natural and green
- scissors
- needle and embroidery thread; you can use regular sewing thread or quilting thread too
The original project was made using quilting thread to make the yo yos because it is stronger than sewing weight thread. I actually tried the quilting thread and broke it, even though I used a double strand, when tightening the top after stuffing. That is when I switched to embroidery floss and used all 6 strands.
Steps:
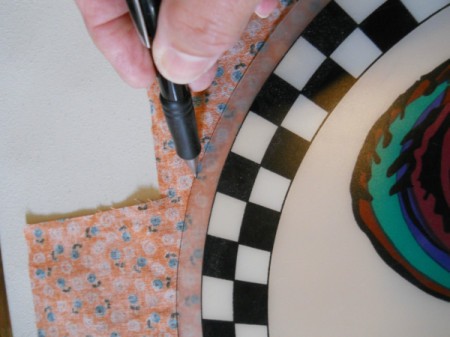
- Trace around your template on the wrong side of your fabric. My template was approximately 15.5 inches in diameter for the large pumpkin.
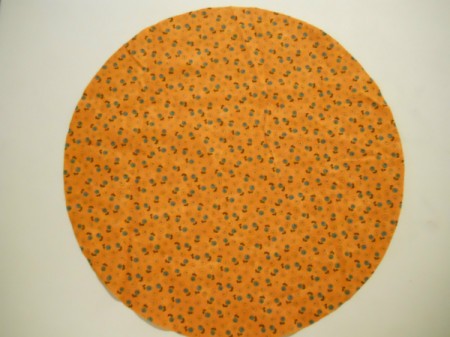
- Cut out the fabric circle.

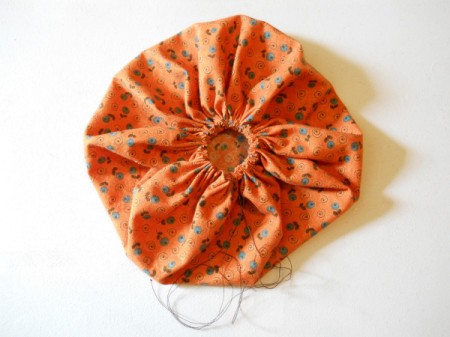
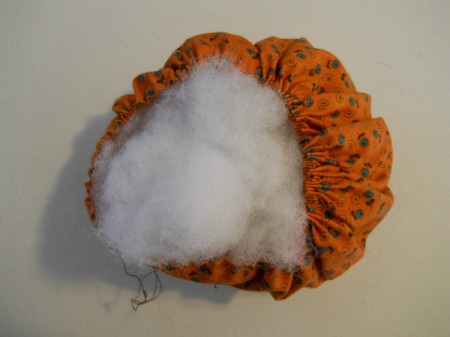
- Fold under .25 inches around the circle and using 6 strand embroidery floss take larger running stitches in the .25 hem. Leave 2-3 inches of thread free at the beginning of your stitches, so that you can tie the ends of the thread or floss together after stuffing.
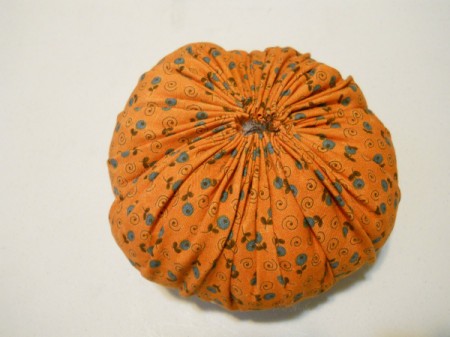
- Leave the yo yo pumpkin open wide enough to stuff. Add as much stuffing as you can and still be able to pull the gathers together to close up the opening. Pull both ends of the floss and tie tightly. You can mush the filling around to get the shape right.
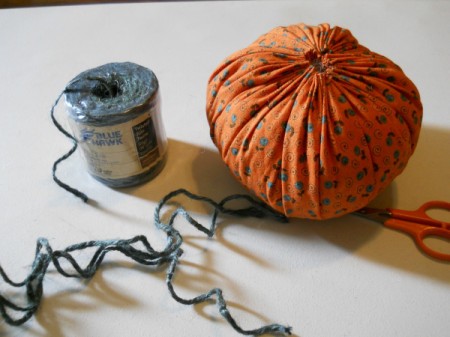
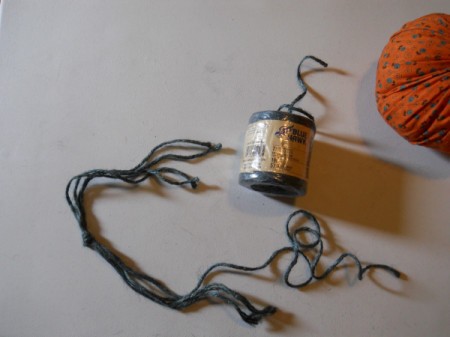
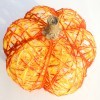
- Wrap the jute loosely around the pumpkin and cut three pieces this length. Make sure you cut it long enough that you have extra after tying. Cut a 4th piece twice this length.
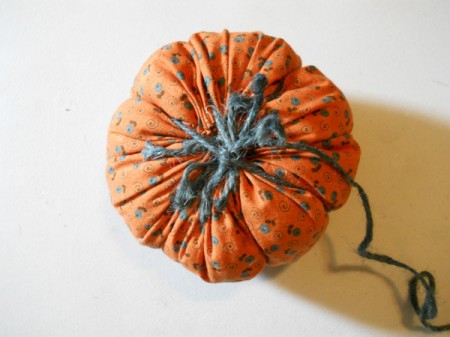
- Holding the 4 lengths of jute together tie a knot in the middle of the length of the 3 shorter pieces.
- Place the pumpkin on top of the knot. Bring up two pieces of the jute up on opposite sides of the pumpkin and pull to tighten. This makes the ridges. Continue, by bringing up the next two pieces at 90 degrees to the first ones. Knot. Bring up the third set between the first two and knot. Lastly, bring up the last short piece and the longer one and tie.
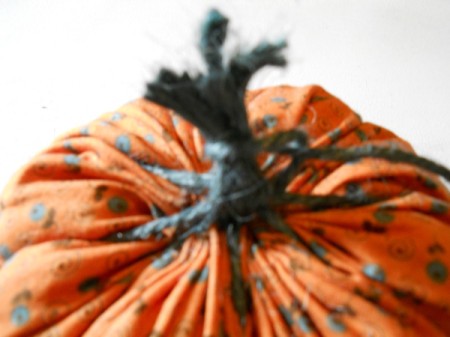
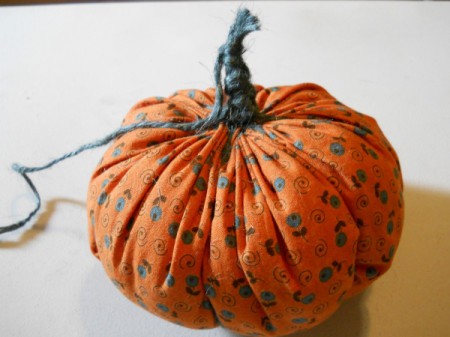
- To make the stem hold the 7 shorter ends together and loosely wrap the longer piece around making a loop. Pull the end though the loop and tighten making a slip knot. Continue in this way to finish the stem.
Add your voice! Click below to comment. ThriftyFun is powered by your wisdom!
October 24, 20160 found this helpful
They look wonderful and your instructions/pictures make it very easy to follow. Thanks for sharing!
attosa
Diamond Post Medal for All Time! 1,246 Posts September 29, 20170 found this helpful
Very cute!!!
September 9, 20190 found this helpful
Best tutorial I've seen. And I've looked at many. Simple, easy to understand. I'm ready now. Thanks so much. Bonnie
Add your voice! Click below to comment. ThriftyFun is powered by your wisdom!