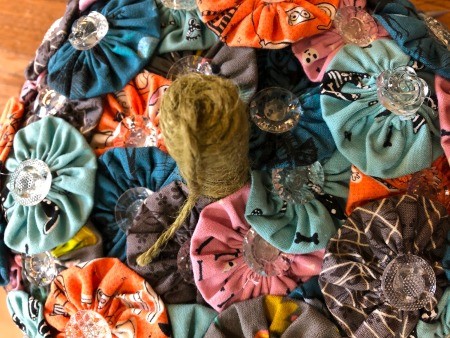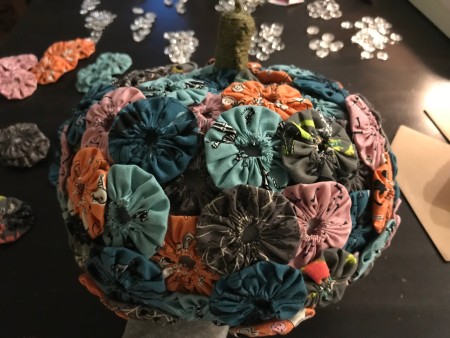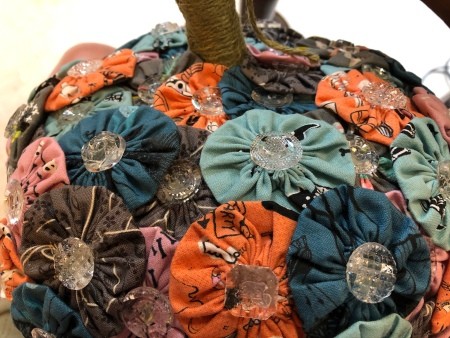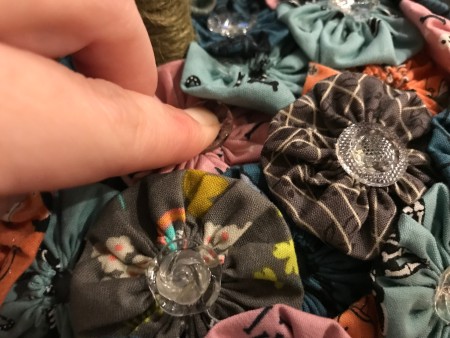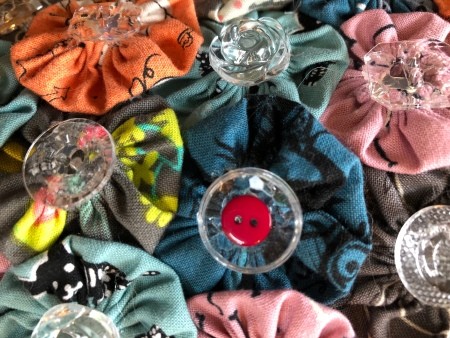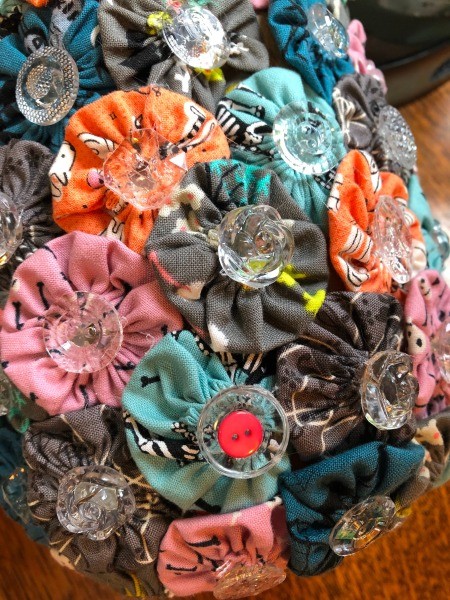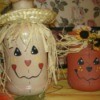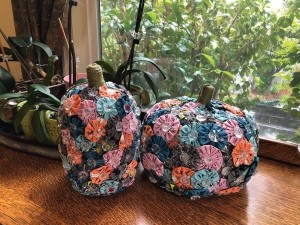
I started this project some time ago when I was completely enamored with making yo yos for all sorts of potential craft projects. I am sharing them now because the yo yos can be a bit time consuming to make, so it is best to begin this project early. These two pumpkins were fun to make and would be a nice additional to your seasonal decor. Even though the fabric is quite Halloween themed, they can be used as a fall decoration and of course, can be made with any fabric choice.
Total Time: 2+ hours not including the yo yos
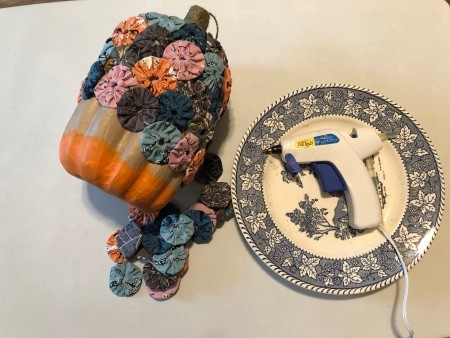
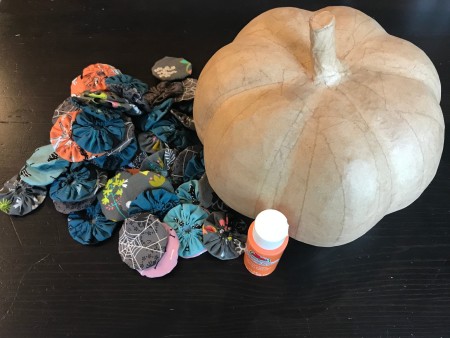
Supplies:
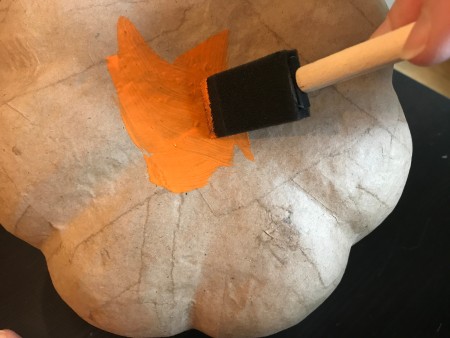
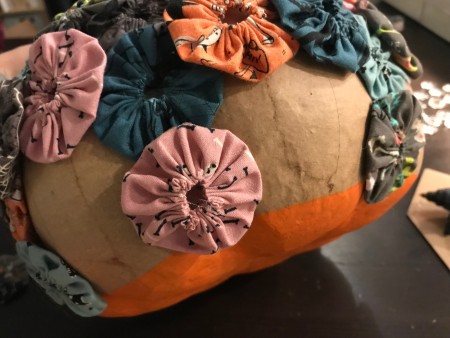
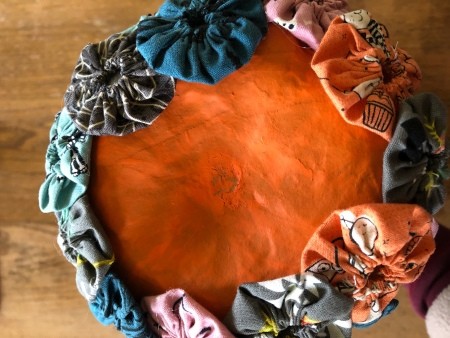
Steps: