lalala...
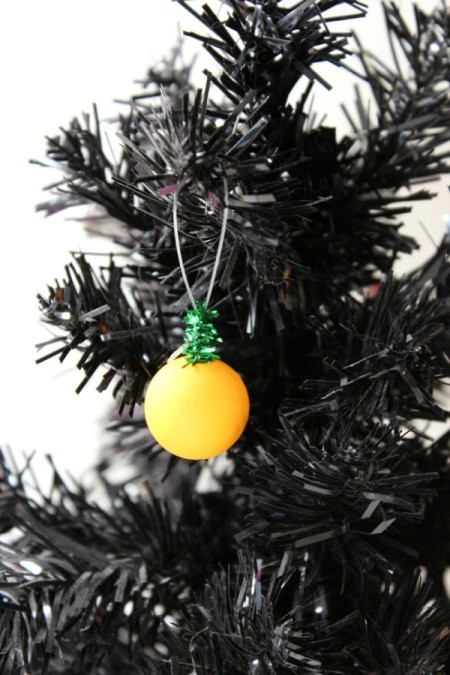
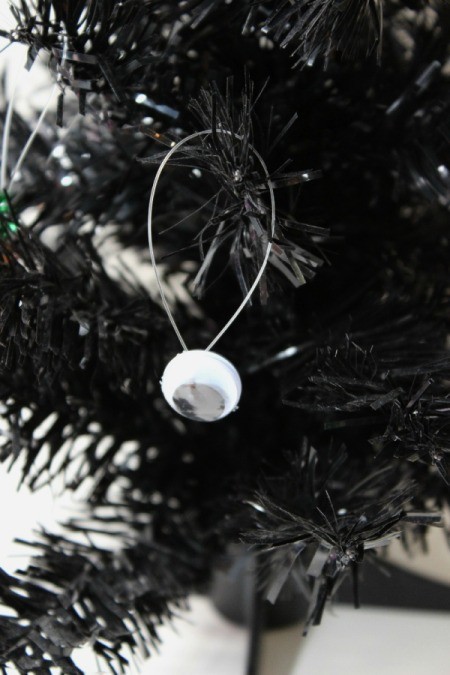
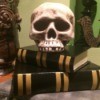
Gold Post Medal for All Time! 899 Posts 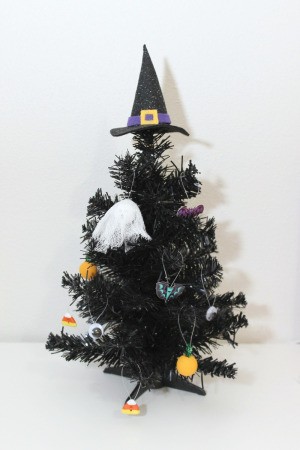 I love Halloween and am always looking for new decorations to put up. I borrowed this little tree from my brother-in-law and couldn't find any good ornaments for it at the store. So I decided to make a bunch of little ornaments for it myself.
Supplies:
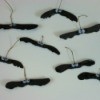
- Paper Bats:
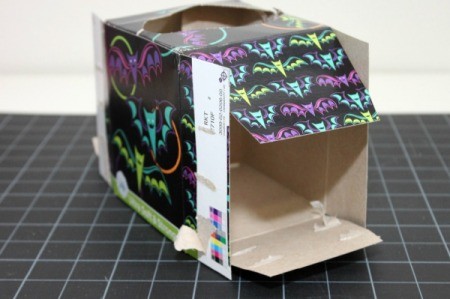
- Halloween themed tissue box
- Wooden Bead Pumpkins:
- wooden beads
- orange paint
- green chenille sticks
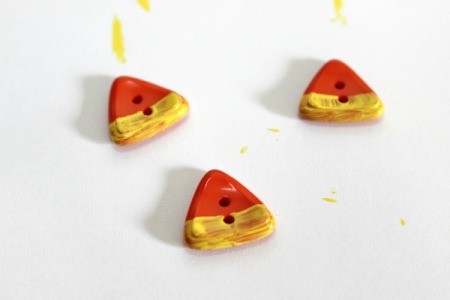
- Button Candy Corns:
- orange triangle buttons
- white paint
- yellow paint
- orange felt
- Googley Eyes:
- googley eyes (various sizes)
- Wooden Bead Ghosts:
- wooden beads
- white paint
- cheese cloth
- white pipe cleaner
- black marker
- Other Supplies:
- paint brush
- scissors
- fishing line
- hot glue gun
Click here if you would like to make the Witch Hat Tree Topper too.
Steps:
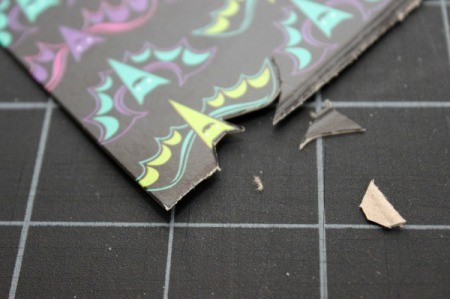
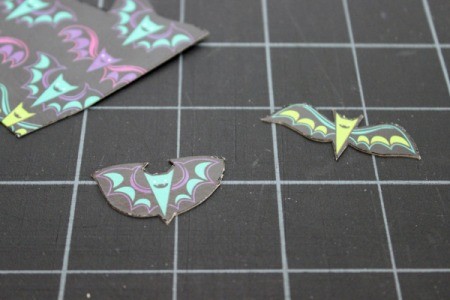
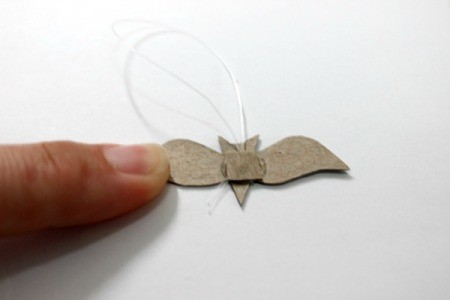
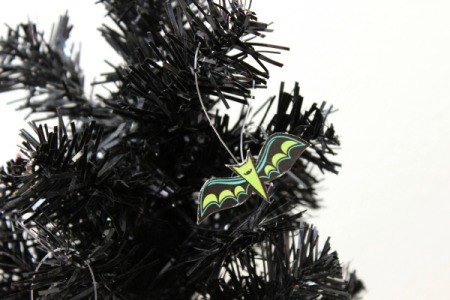
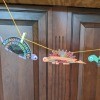
- I found a really cute tissue box with bats all over it. The smaller bats were the perfect size for the tree. Cut out the shapes you want to use on the box using a craft knife.
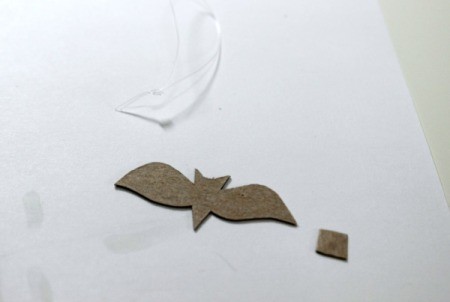
- Cut a piece of fishing line and knot the ends together. Using scrap parts of the box, cut out small squares. Apply hot glue to the back of the shapes, then lay the knotted end of the fishing line on the glue, and press the cardboard square onto the glue to hold the fishing line in place.
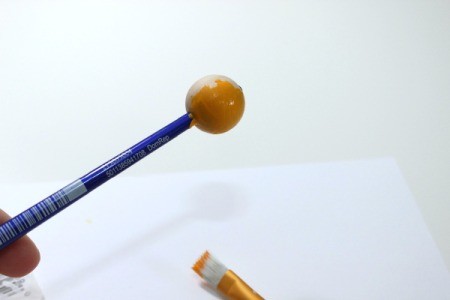
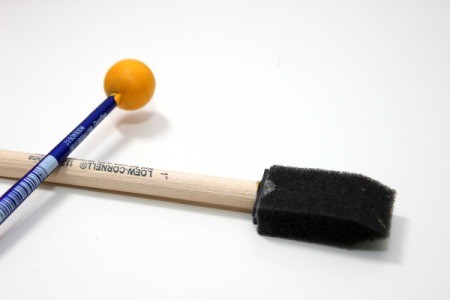
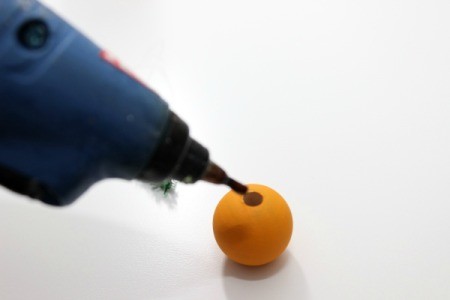
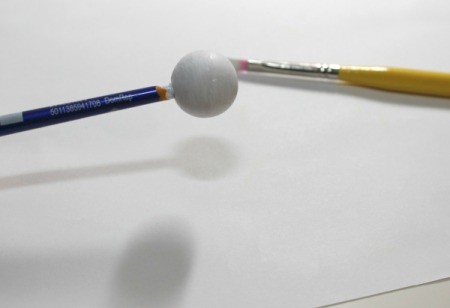
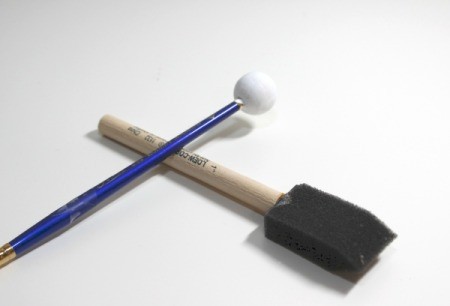
- Paint the wooden beads orange, applying as many layers of paint as needed, then allow to dry completely. NOTE: I put the beads on the end of a paint brush for easy painting and drying.
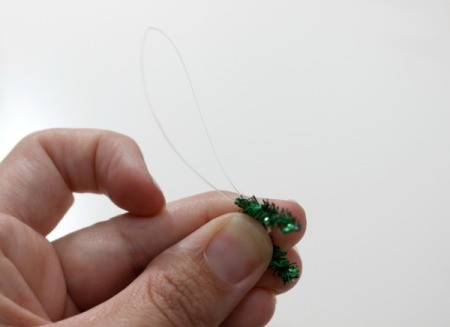
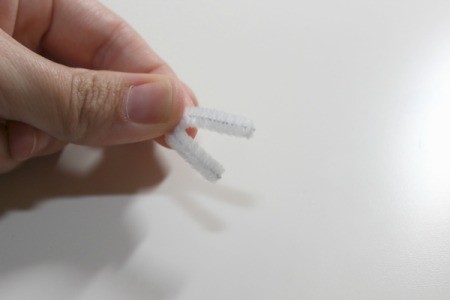
- Cut 1 in. pieces of green chenille sticks, folding them in half. Cut a piece of fishing line and knot the ends together. Place the folded chenille stick through the loop of fishing line.

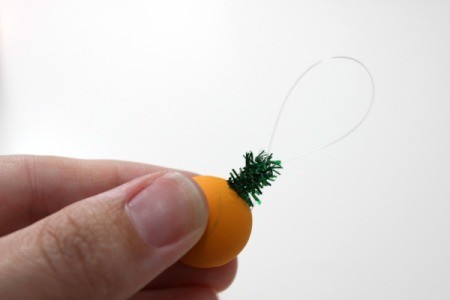
- Apply hot glue inside the hole at the top of the wooden bead. Then push the two ends of the chenille stick into the hole. Allow to dry.
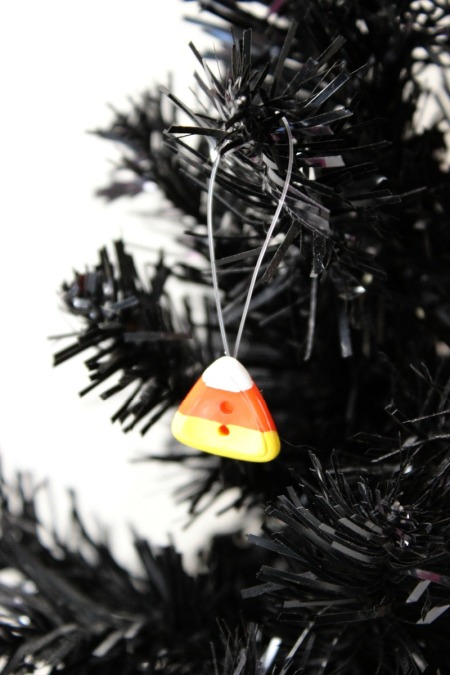
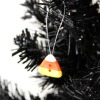
- Paint the lower third of the buttons yellow, applying as many coats of paint as needed. Allow to dry completely.
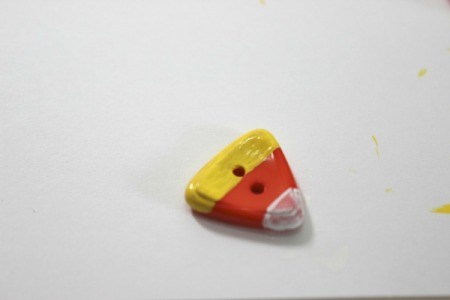
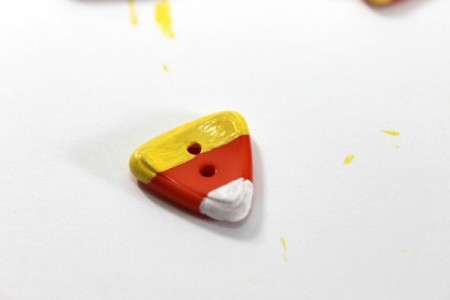
- Paint the top of the buttons white, applying as many coats of paint as needed. Allow to dry completely.
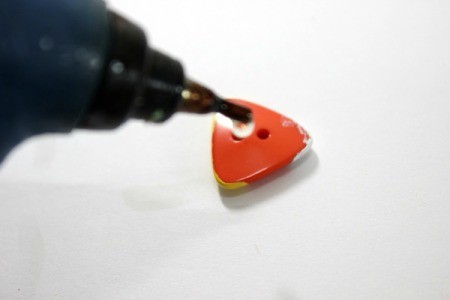
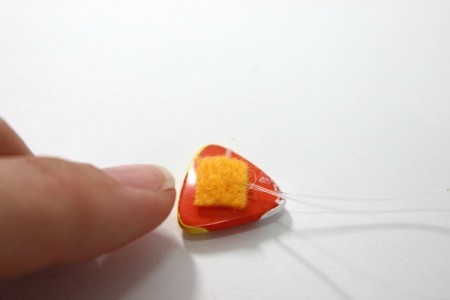
- Cut a piece of fishing line and knot the ends together. Now cut small squares of felt. Apply hot glue to the back of the buttons, then lay the knotted end of the fishing line on the glue, and press the felt square onto the glue to hold the fishing line in place.
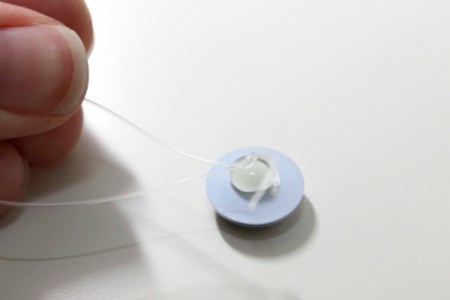
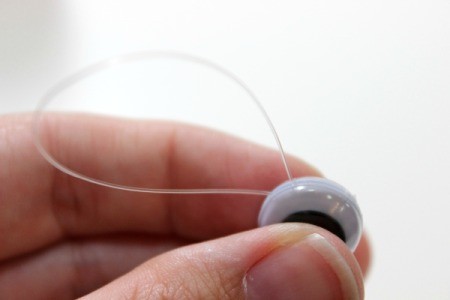
- Cut a piece of fishing line and knot the ends together. Put hot glue on the back of one googley eye, then lay the knotted end of the fishing line on the glue, and press a second googley eye onto the glue to hold the fishing line in place.
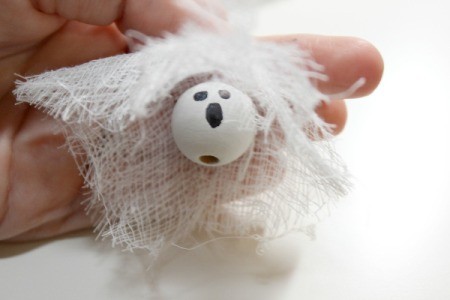
- Paint the wooden beads white, applying as many layers of paint as needed, then allow to dry completely. NOTE: I put the beads on the end of a paint brush for easy painting and drying.
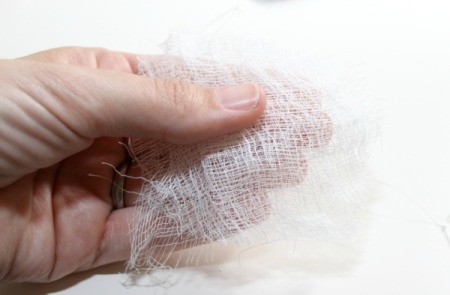
- Cut 1 in. pieces of white chenille sticks, folding them in half. Cut a piece of fishing line and knot the ends together. Also cut a few circles of cheese cloth about 4 in. in diameter, placing them on top of each other.
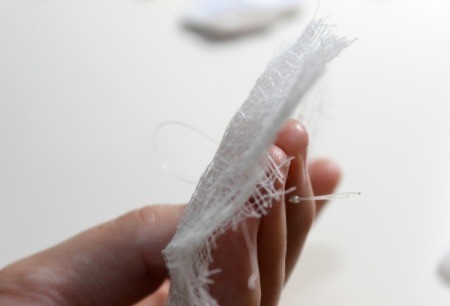
- Push the fishing line through the center of the cheese cloth. Hook the piece of chenille stick through the fishing line near the knot. The loop of fishing line should be on one side of the cheese cloth, with the chenille stick and knotted end on the other side.
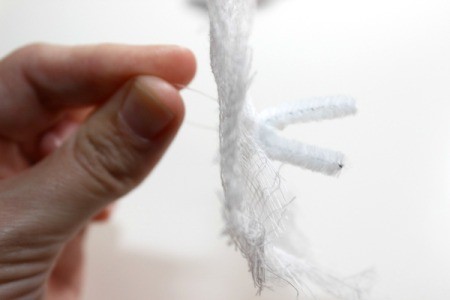
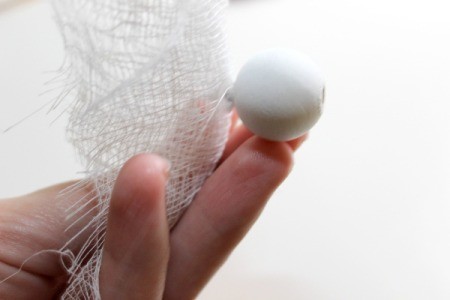
- Apply hot glue inside the hole at the top of the wooden bead. Then push the two ends of the chenille stick into the hole, making sure that the whole piece of chenille stick is inside the hole. Allow to dry.
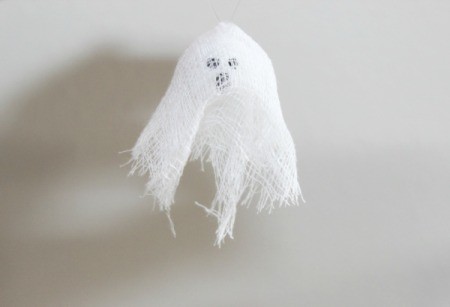
- Using a marker, draw eyes and a mouth onto the bead underneath the cheese cloth.
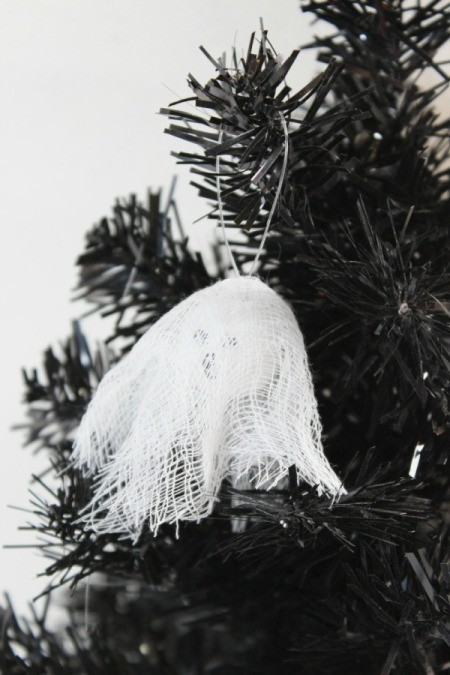
- Drape the cheese cloth down over the bead to make a ghost. Trim off any excess threads.
Add your voice! Click below to comment. ThriftyFun is powered by your wisdom!