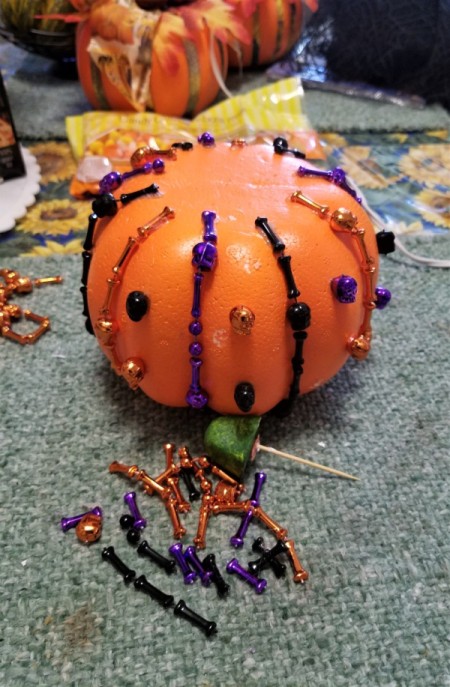
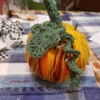
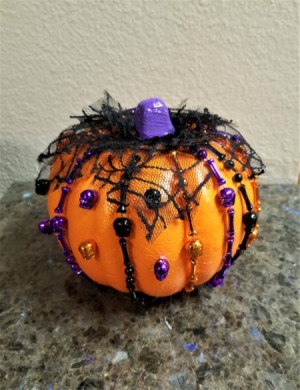
 Making the second foam pumpkin brought out the Punk' in me. I love the way it turned out.
Total Time: 1 Hour
Yield: 1
Supplies:
- 1 dollar store pumpkin ($1.00)
- 4 strands of dollar store beads ($1.00)
- 1 sq ft black lace ($.10)
- scissors
- hot glue and gun
- pumpkin leaf template
- straight pins
- paint and brush ($.25)
Steps:
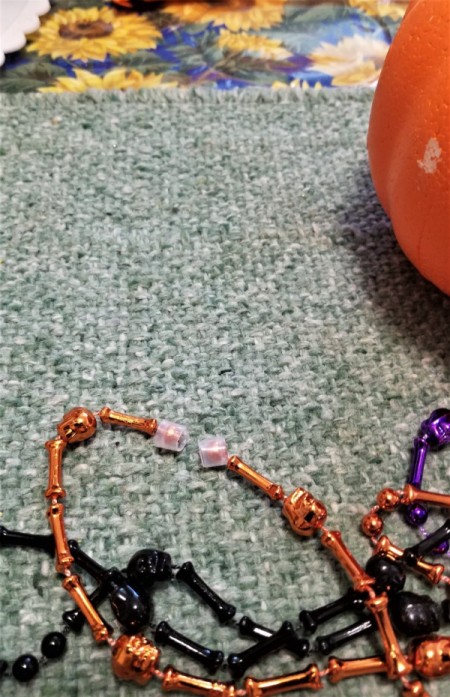
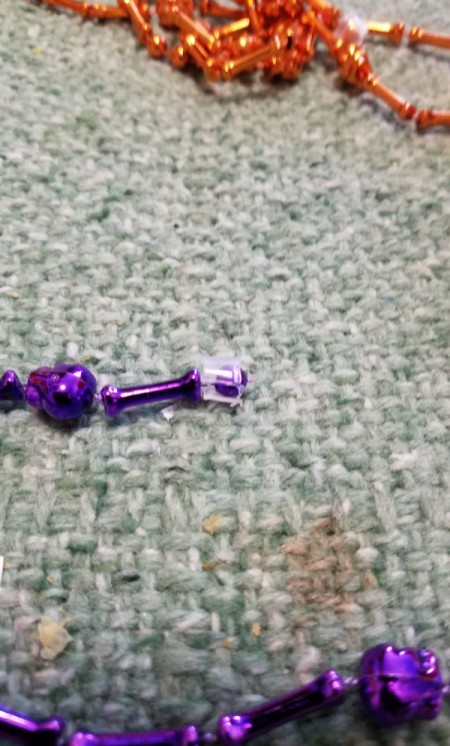
- The first step was to cut the little connectors that the necklaces came in. Little did I know this was not hard at all. I cut and squeezed the little end piece off and then realized I could have just cut below it. Live and learn!
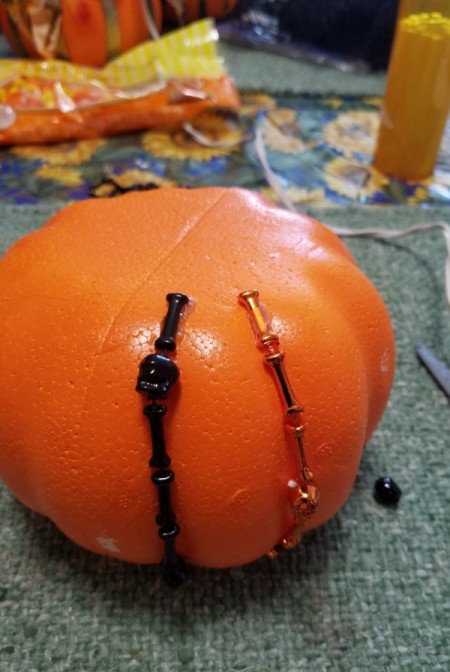
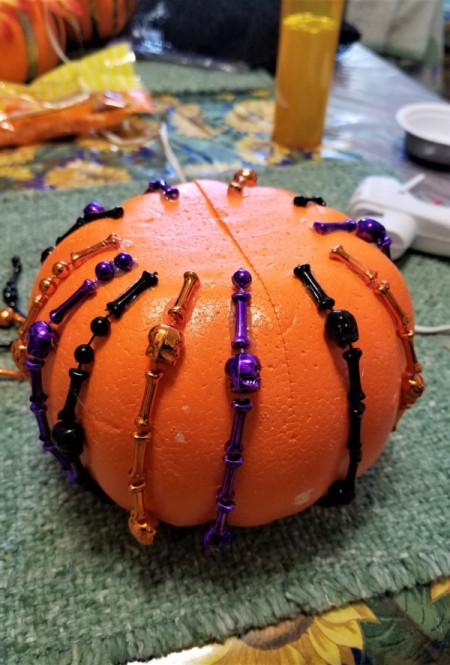
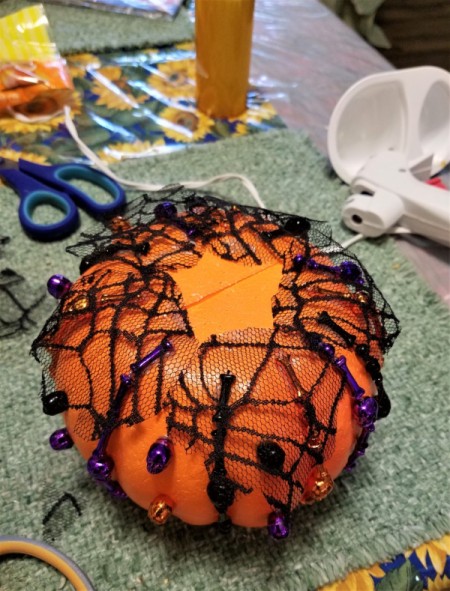
- I had two of the orange and one purple and one black strand. I wanted the little skulls to not be the same level so I started at different lengths along the strand.

- I began gluing at the bottom of this one, so the ends of the strands would not make it so it didn't set right. Then I just put a strand, making sure I cut them at different lengths, on each of the grooves.
- When I had all the strands done, I cut some skulls from the left over pieces and glued them to the spaces in between.
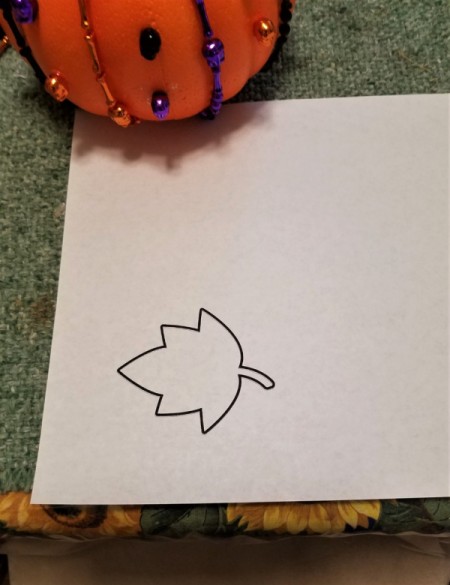
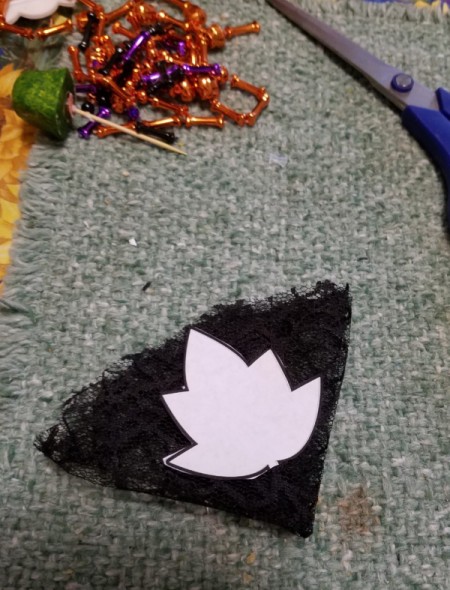
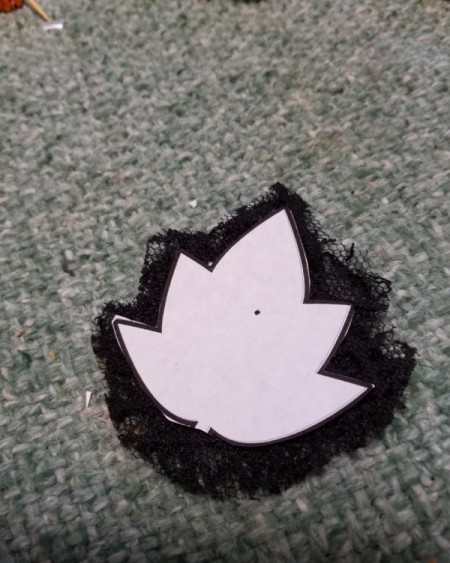
- For the top, I used pins this time. I found a pumpkin leaf template on line and printed it out. Then I cut it and used it to cut multiple pieces of lace at once.
- I started the leaves on the outside, so I could put the next row inside toward the stem.
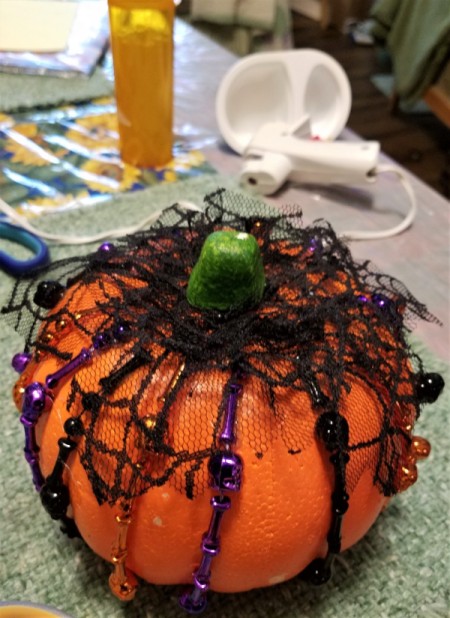
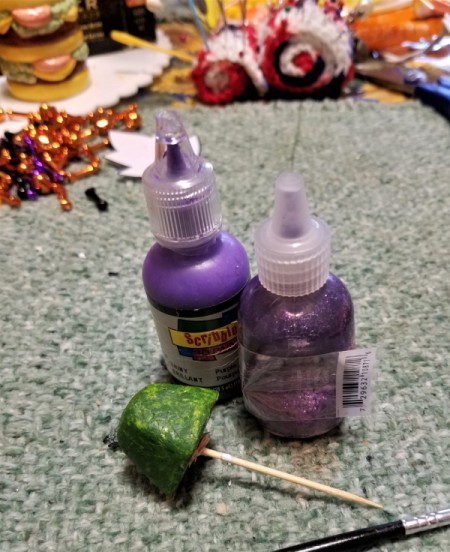
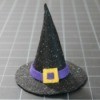
- I didn't like the stem being green so I painted it purple to match the strand. I wanted some glitter, but sadly it had dried up. N-JOY!!
Add your voice! Click below to comment. ThriftyFun is powered by your wisdom!