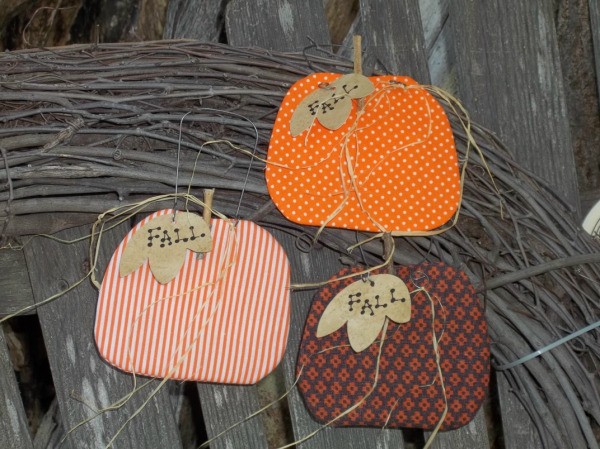
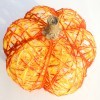
Sew simple fabric pumpkin ornaments using scraps of orange or fall fabrics. Make several to hang on hooks or to attach to fall gift baskets for harvest gift-giving.
Approximate Time: 1 hour
Advertisement
Supplies:
pumpkin shape
ruler
lightweight cardboard
permanent marker
scissors
fall fabric scraps
straight pins
sewing machine
iron
craft glue and hot glue gun
stick
wire cutters and needle-nose pliers
leaf shape
beige scrap paper
raffia
black acrylic paint
wooden skewer
paper punch
large yarn needle
craft wire
Instructions:
Find a pumpkin shape. I drew one by hand, but clip art or cookie cutters can also be used and enlarged as desired.
Mine measured 4 inches tall by 4 1/2 inches wide. Trace the shape on lightweight cardboard and cut out.
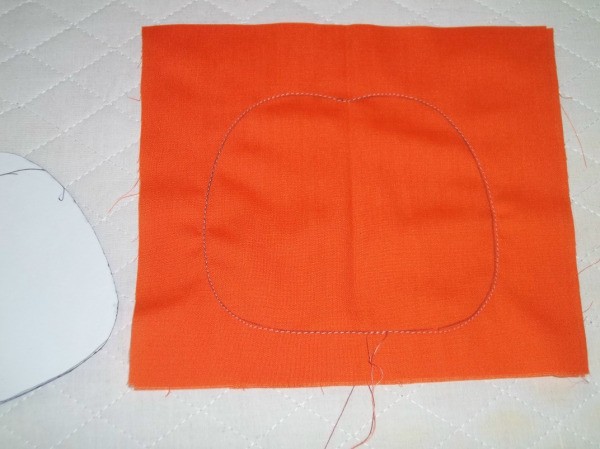
Place two pieces of fabric together with the right sides facing.
Center the pattern on the fabric and trace around it with a marking pen.
Pin the fabric layers together. Sew on the traced line of the pumpkin.
Do not leave an opening for turning.
Advertisement
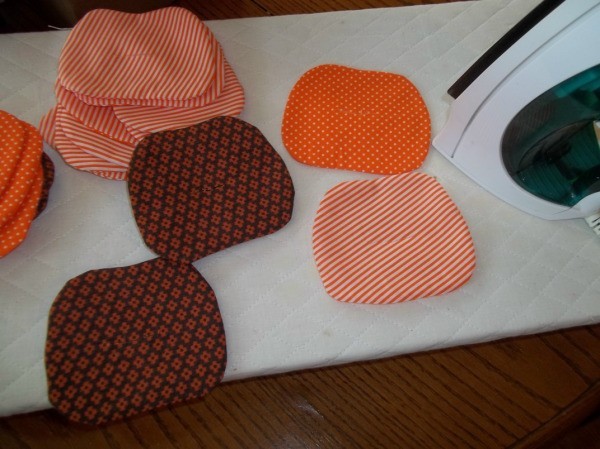
Cut out the pumpkin 1/8 inch from the stitching line.
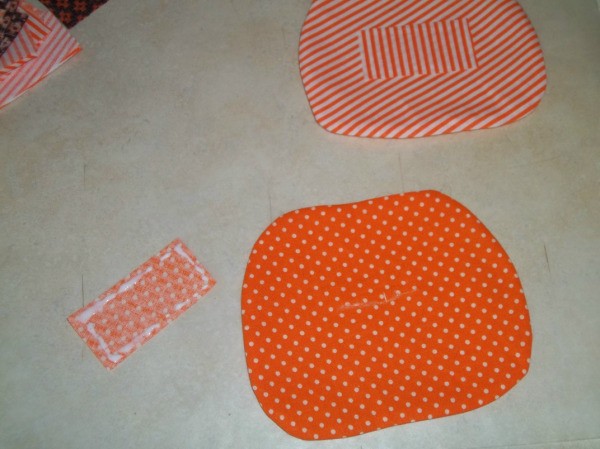
Cut a 1 1/2 inch slit in the center of one pumpkin side.
Turn the pumpkin right side out through the opening and press.
Cut a patch of matching fabric approximately 1 inch wide by 2 inches long. Apply craft glue to the back of the patch. Place the patch over the slit in the pumpkin to close.
Gather a stick from your yard that is slightly thicker than a wooden barbecue skewer, but smaller than the diameter of a pencil.
Using wire cutters, cut a piece 2 inches long for the pumpkin stem.
Apply hot glue to the back of the stem and attach it to the center top of your pumpkin.
Advertisement
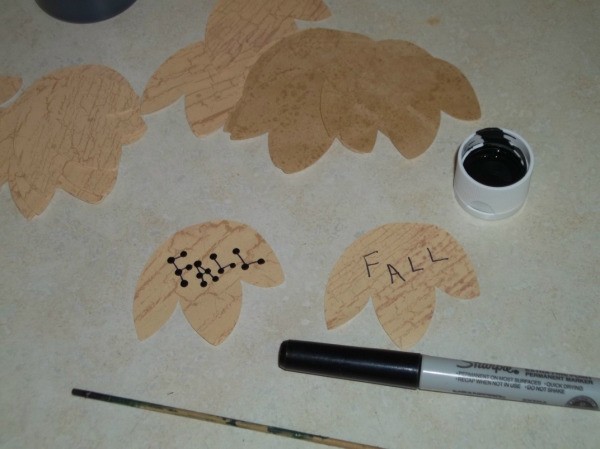
Cut a 2 1/2-inch leaf shape using beige wallpaper or scrapbook paper.
I used a Cricut die cut machine and a leaf design from the Doodletype cartridge.
A leaf could also be cut by hand using a real leaf as your pattern. Write "FALL" on the leaf using a permanent marker.
Dip the blunt end of a wooden skewer into black acrylic paint. Dot each end and intersection of each letter.
Allow the paint to dry. Using a paper punch, punch a hole centered above the word "FALL".
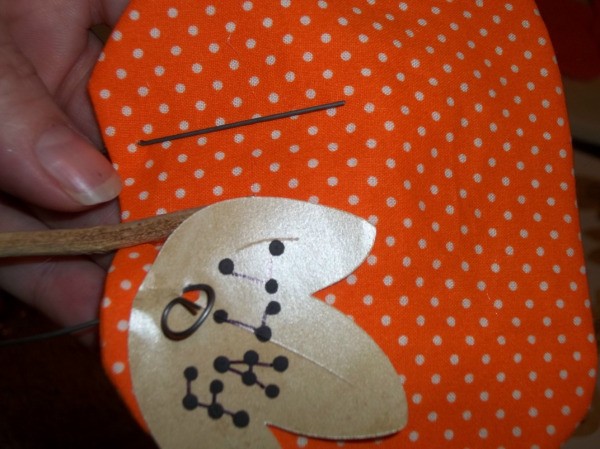
Poke holes just below the top edge of the pumpkin and a 1/2 inch from both sides of the stem using a large yarn needle.
Cut a 9-inch length of craft wire using wire cutters. Bend the wire into a "U" shape. Poke the ends through the holes from the back of the pumpkin to the front. Pull 2 inches of the wire ends through to the front.
Advertisement
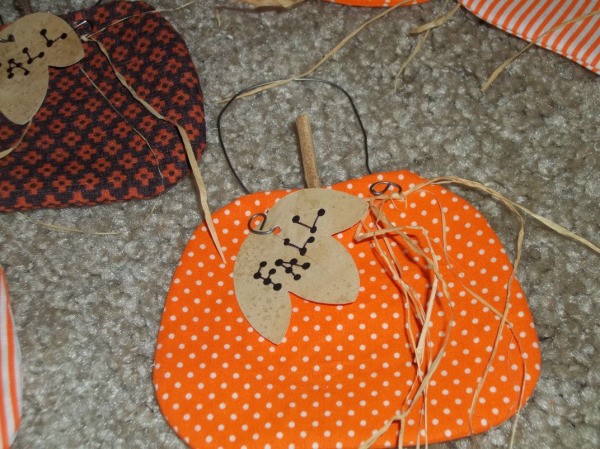
Slip the leaf on the left wire end. Grasp the wire end with the tip of needle-nose pliers.
Twist the wire around the end until the entire 2 inches has been curled.
Remove the pliers and repeat with the other wire end.
Tie a few strands of raffia around the wire curls on the right.