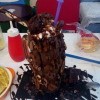
 I'm not done yet with this Halloween thing. After weeks of preparation I'm still trying to add up some more around the house decorations for this coming Halloween.
Supplies:
- crepe paper (yellow and red)
- black card stock
- scissors
- school glue
- black marker
- LED lights
- plastic or glass jar

Steps:
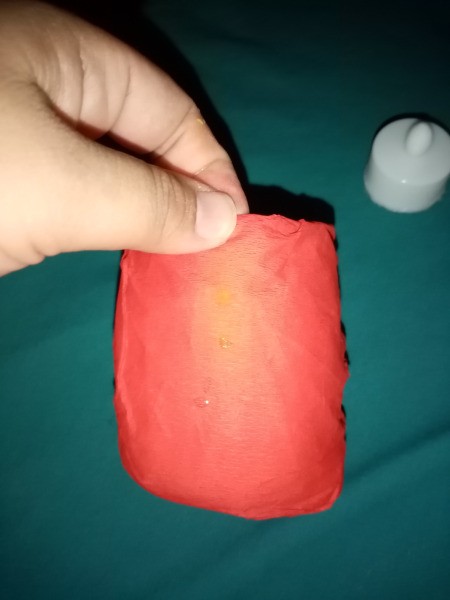
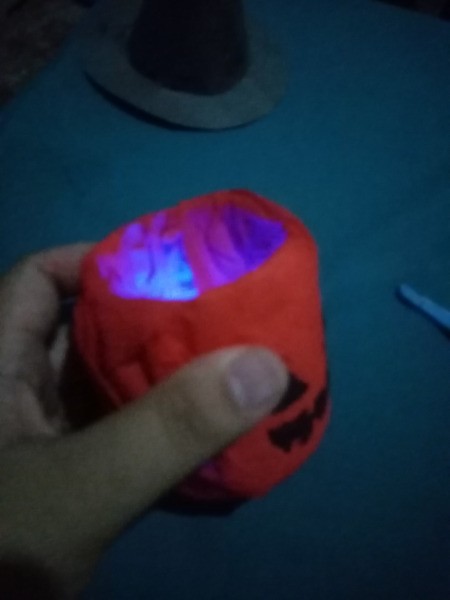
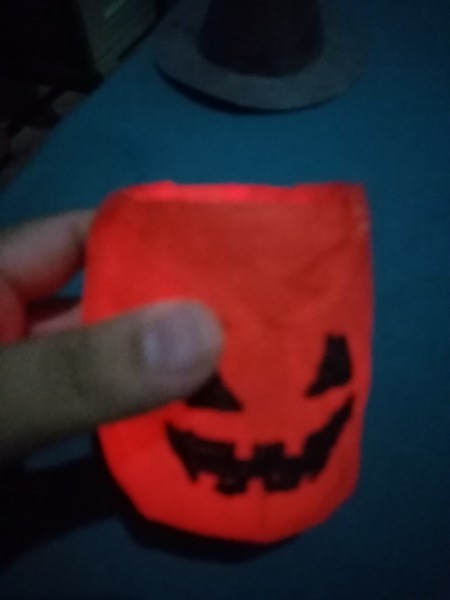
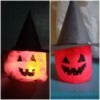
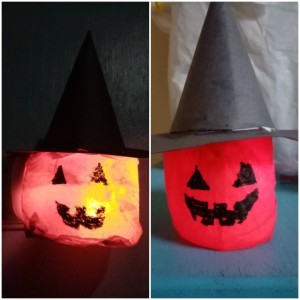
- Cut a small piece from yellow crepe paper and wrap it around the plastic jar.
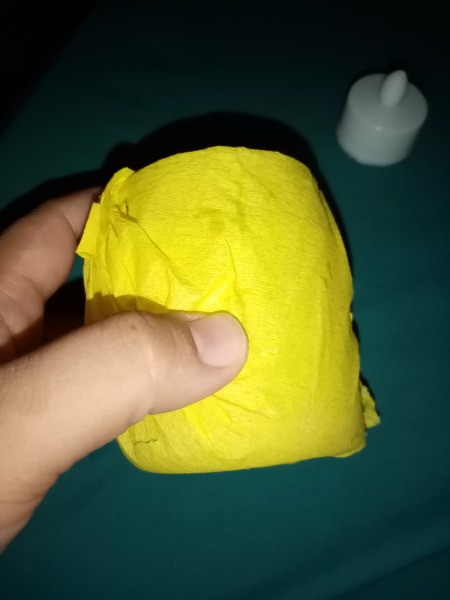
- Take the red one and do the same. Secure this with glue. This will make an orange effect when lights are on. You can fill the whole body of the jar with a mixture of glue and a little amount of water. But you have to wait for it to dry.

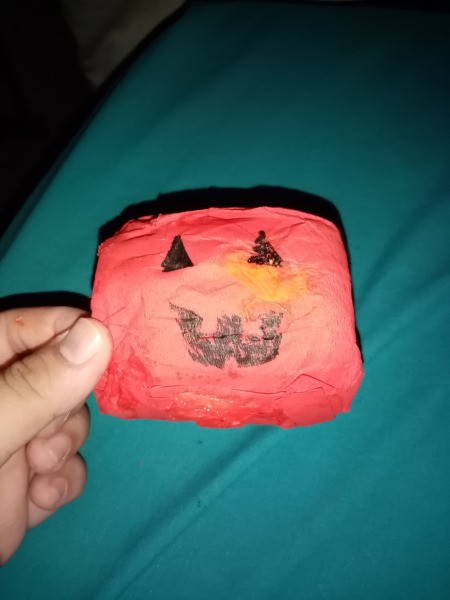
- Draw a face of a pumpkin. On the other side I have also drawn another face in a horizontal position. This will only apply if there are horizontal wall lamps.
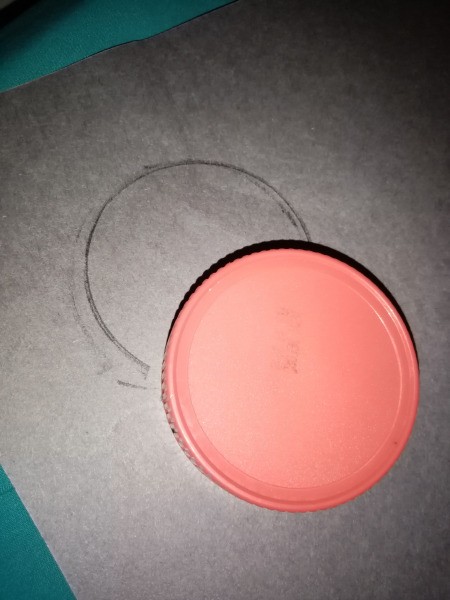
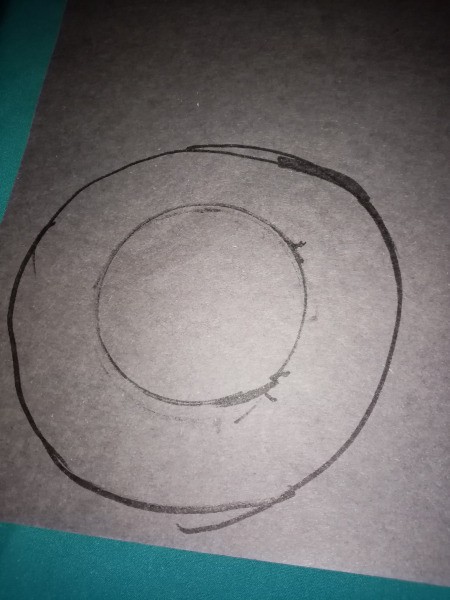
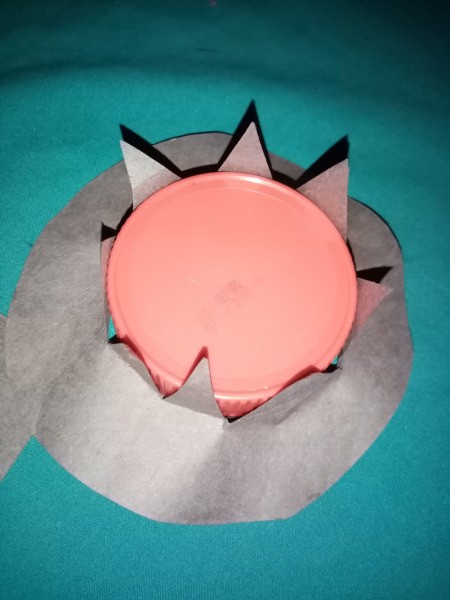
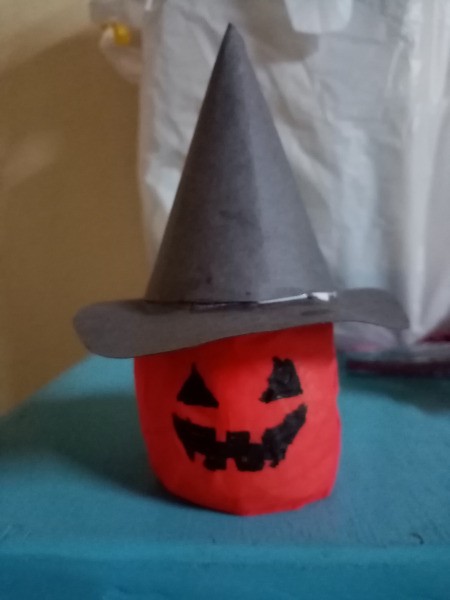
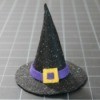
- Take the black cardstock and trace the jar lid.
- Make another circle outside the first one which is a bit bigger. It doesn't have to be a perfect circle, though.
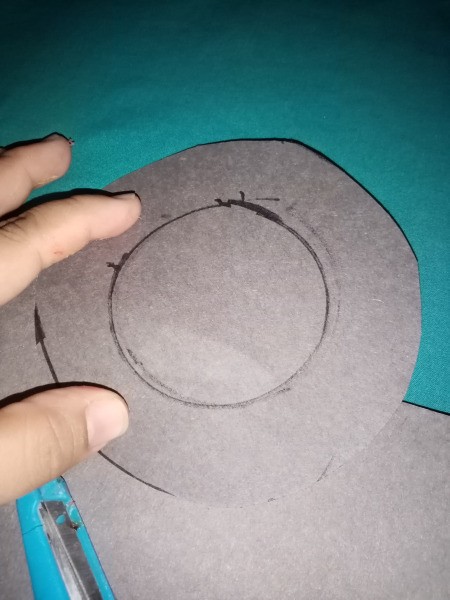
- Cut out the big circle.
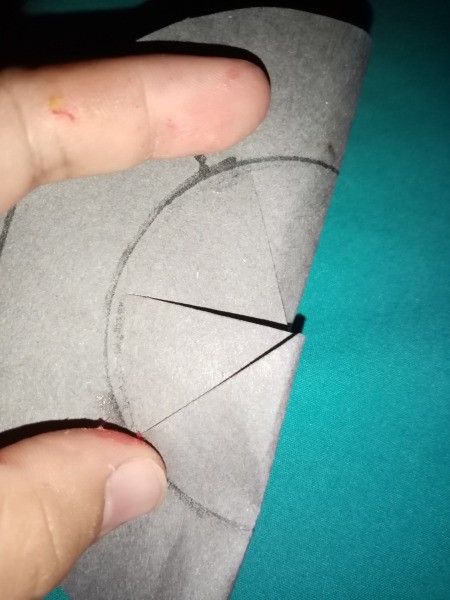
- Fold this in half and cut the center like a pie.
- Insert this on the lid temporarily.
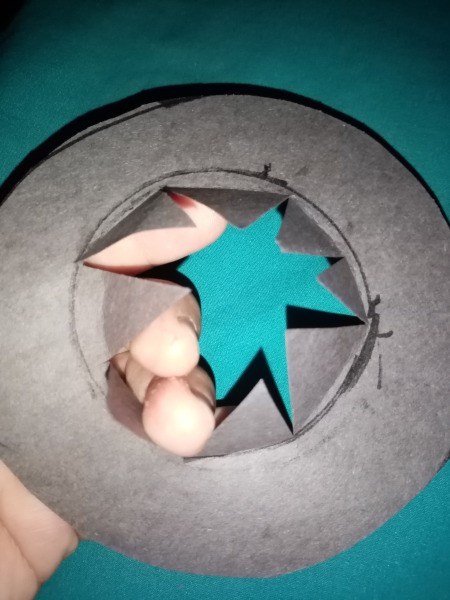
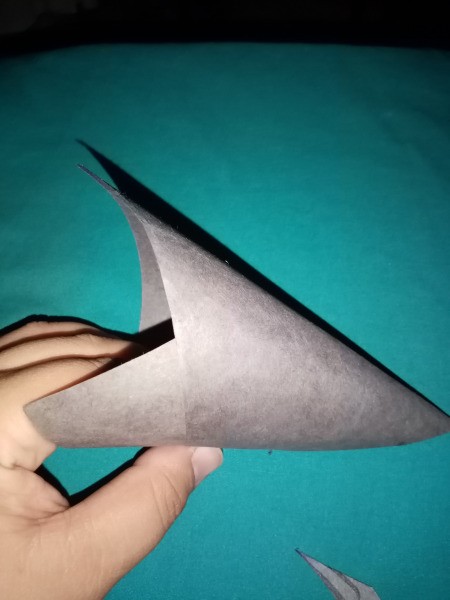
- Roll another piece of black cardstock like a cone. Just trim off the excess.
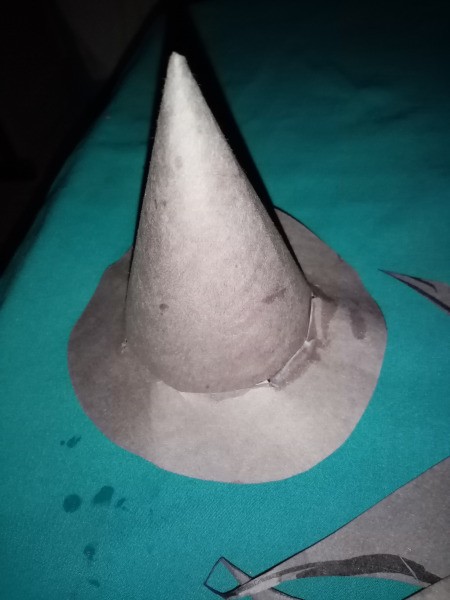
- Apply glue on the inside. Insert this on the circle so it forms a witch's hat. See photo. Set aside to dry.
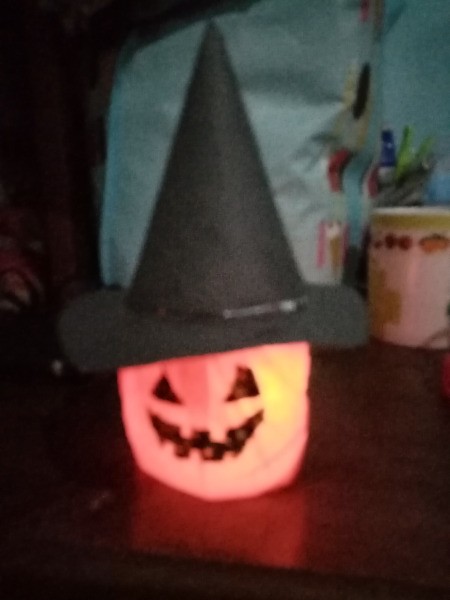
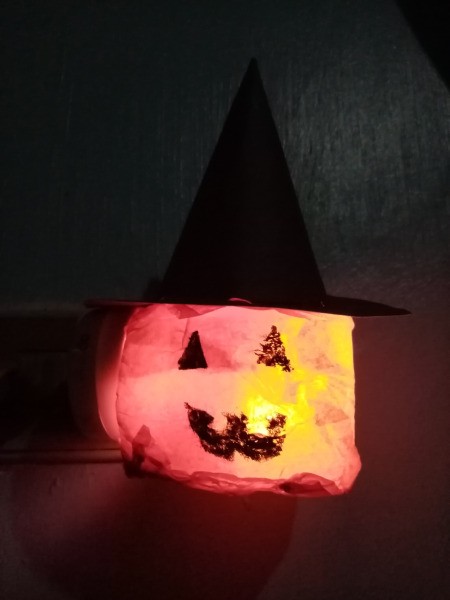
- Place the light inside the jar. Light it up.
- Put the hat on top.
- Or cover wall bulbs with it.
Add your voice! Click below to comment. ThriftyFun is powered by your wisdom!
October 26, 20190 found this helpful
brilliant
Add your voice! Click below to comment. ThriftyFun is powered by your wisdom!