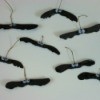
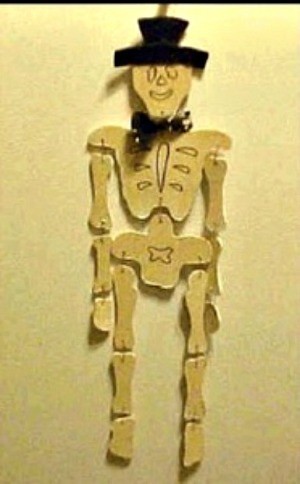
 These skeletons are great fun to make and hang around for Halloween. They can be made of wood 1/4 inch plywood. Easy to make from scraps. Or if you don't have the tools to do wood, you could make them with a sheet of art foam. I made mine about 17 inches tall, but you can reduce or increase the size to suit your wishes. My picture is of a wooden one.
By Harlean from Arkansas
Click Here to download the instructions.
Hey guys!
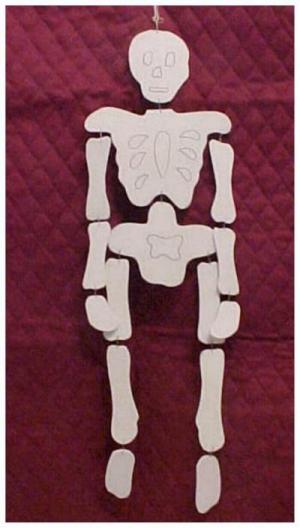
This is an update to my pattern. I now have a picture of this skeleton made with art foam instead of wood. And although my directions say to assemble him with thread, I used staples with better results. Just separate the staples from the strip, push one end into each of two adjoining pieces and then crimp the ends to secure.
Here are the questions asked by community members. Read on to see the answers provided by the ThriftyFun community.
I have made a skeleton out of milk cartons many years ago and have forgotten how. Does anyone have the pattern?
By Barbara Sanchez from Vernal, UT
or 9 clean, plastic gallon jugs
String
Scissors
Craft knife
Glue gun
One-hole punch
Neon paint (optional)
X
Instructions
To make the head, choose a jug with a pair of circular indentations opposite the handle and turn it upside down. In the corner, opposite the handle, cut out a large, smiling mouth, centered under the indented "eyes." Make two small slits in the top of the head and tie a loop of string through them for hanging the finished skeleton.
For the chest, cut a vertical slit down the center of a right-side-up jug, directly opposite the handle. Cut and trim away plastic to make the rib cage. Glue the head and chest together at the "neck" by connecting the spouts of the two jugs with a thick band of hot glue. Hold the jugs together for a few minutes until the glue cools.
To form shoulders, cut off two jug handles (leaving a small collar on the ends) and attach them to the chest section with hot glue. Punch a hole at one end of each shoulder.
For hips, cut all the way around a jug, about 4 1/2 inches up from the bottom. Take the bottom piece and trim away a small smile shape from each side to make a four-cornered shape. Punch holes in two opposite corners.
Make a waist by cutting out two spouts, leaving a 1/2-inch collar on each. Glue the spouts together and let dry. Then, hot-glue the waist to the bottom of the chest and the top of the hip section.
Form arms and legs by cutting eight long bone shapes from the corner sections of three jugs (cut into the curved shape of the jug to make the bones even more realistic). From four of these bones, cut out the center to make lower limbs (forearms and shins). Punch a hole through the ends of all eight bones. Use string to tie two arm sections to each shoulder and two leg sections to each hip.
Let kids trace their hands and feet onto the side of a jug, then cut out the shapes. Punch holes in the hands and feet, and tie them onto the arms and legs.
Variations: Paint Mr. Bones a neon color to make him appear to glow.
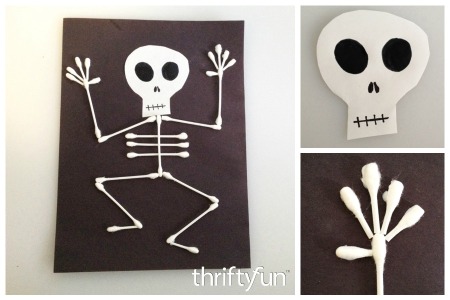
This is a simple, fun kids craft to make with your children. This is a page about making a Q-tip skeleton.
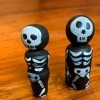
I have been having fun making peg people and decided to do a Halloween-themed peg doll with this cute little skeleton.

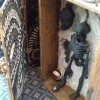
This is a page about making a milk jug skeleton. Recycled milk jugs are the start to making a Halloween skeleton decoration.