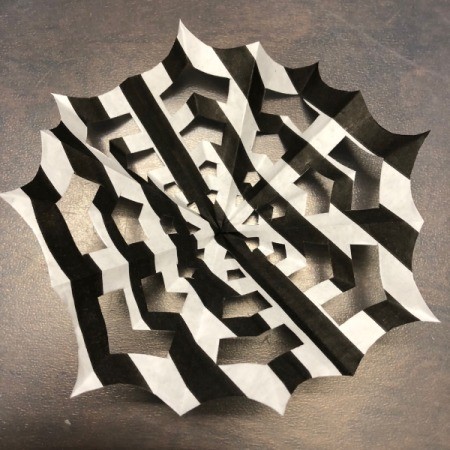
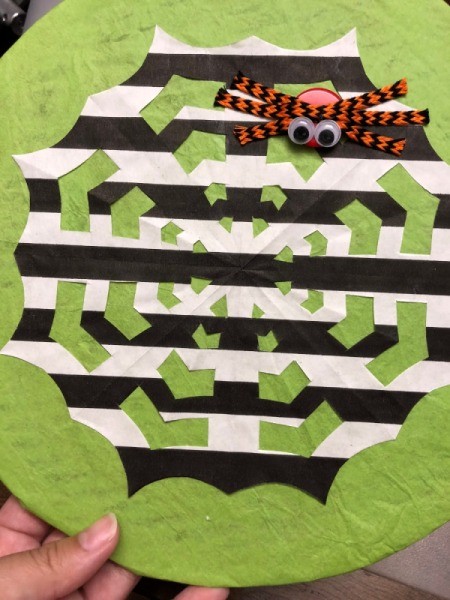
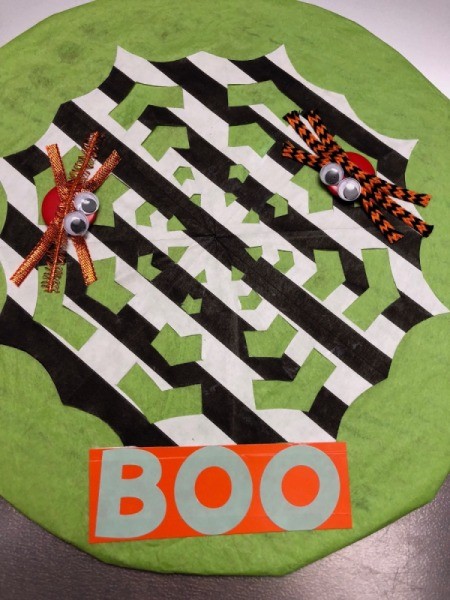
 This is a recycled spiderweb/spider sign I made from recycle items I had saved. This pizza cardboard circle is transformed into this Halloween sign. All the items I used were free or items I already had at home.
Total Time: 30 minutes
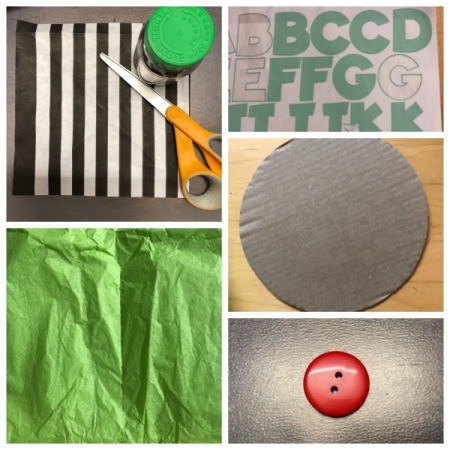
Supplies:
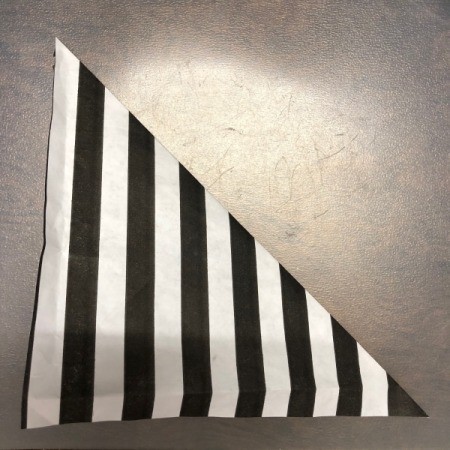
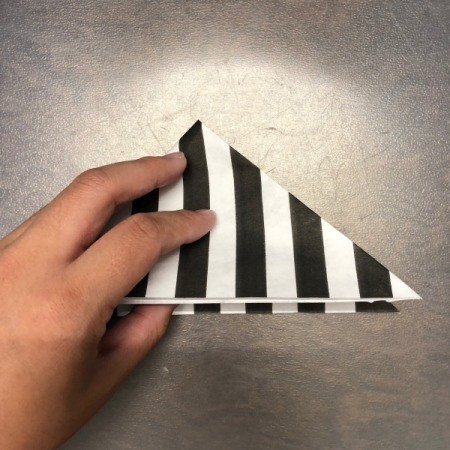
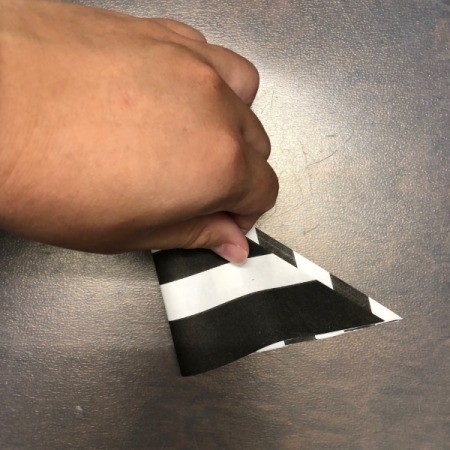
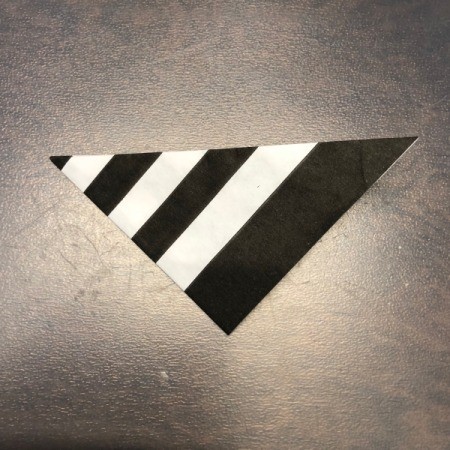
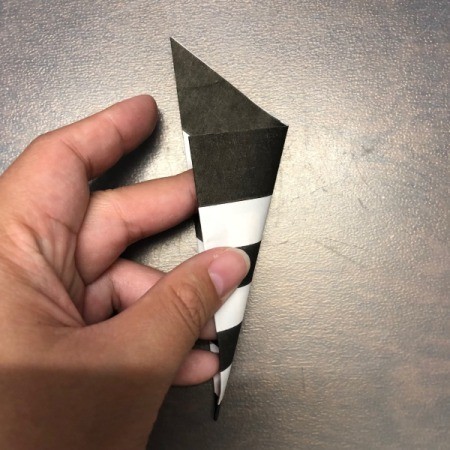
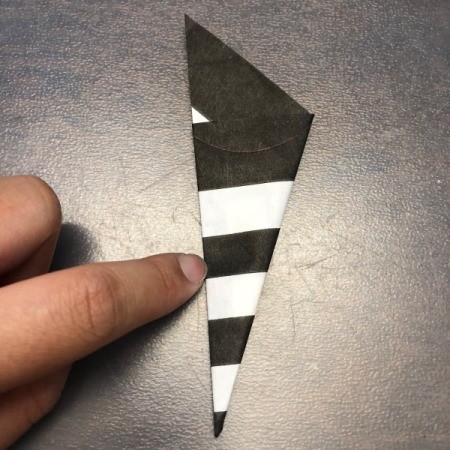
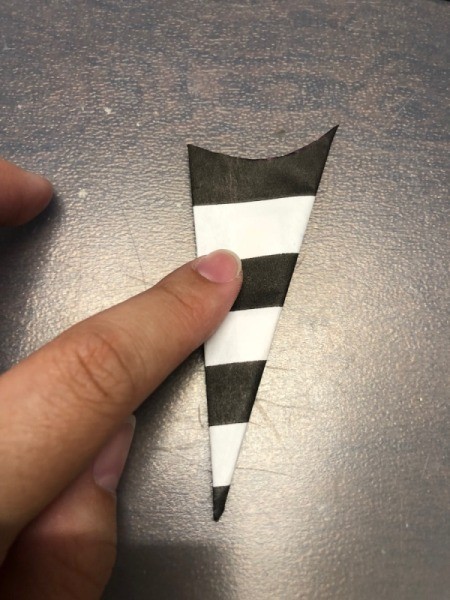
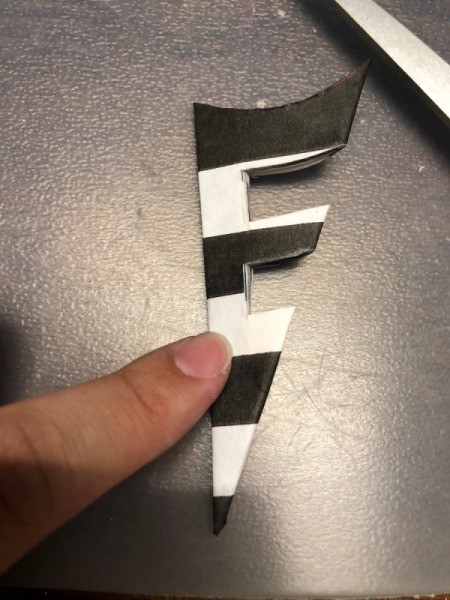
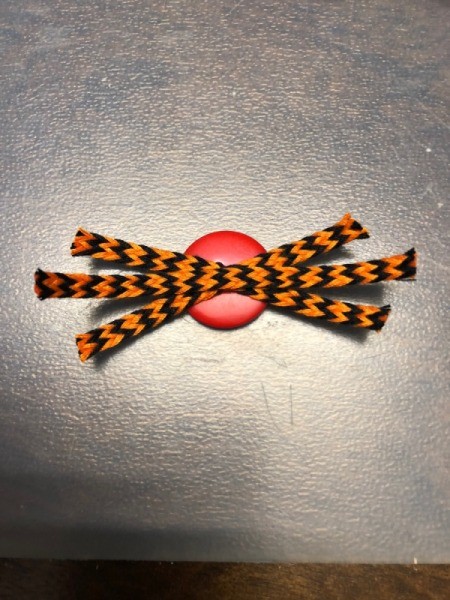
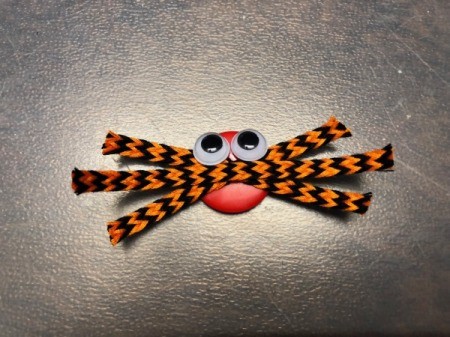
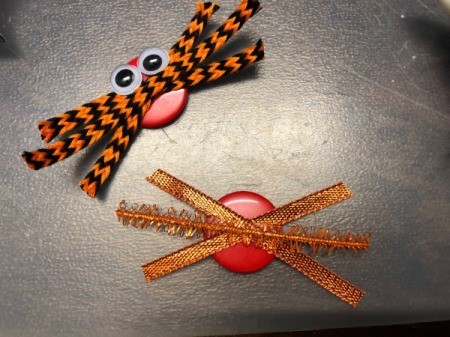
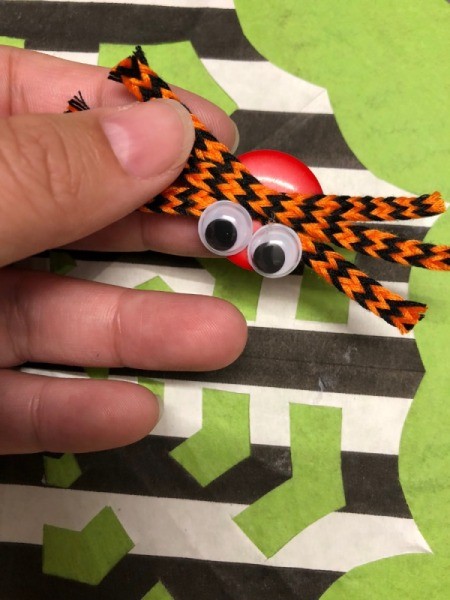
Steps: